2014 San
Felipe 250 Roll Over Repairs
The Damage
Body Removal
Fitting the New Body
Repairs/Upgrades to the Cage
Body Work and Paint
![]()
Fitting the New Body
|
Fitting the new body requires some planning and careful cutting in order to ensure a good fit that doesn't require significant "gap filling" when we weld it in place. In addition, we want to make the body "removable" to an extent and that requires some planning ahead.... We will initially cut the new body a little "big" so that we can trim it back for a perfect fit. We have carefully measured the required cut locations but we'll install the doors and check the fit before any final welding is done. Finally, the new body needs some cosmetic trimming to clean up the engine bay area for the "Baja Bug" look. |

Trevor beginning to remove unnecessary parts from the
firewall area
There are lots of little "hangers", tabs and studs that we don't
need/use - why carry the weight?
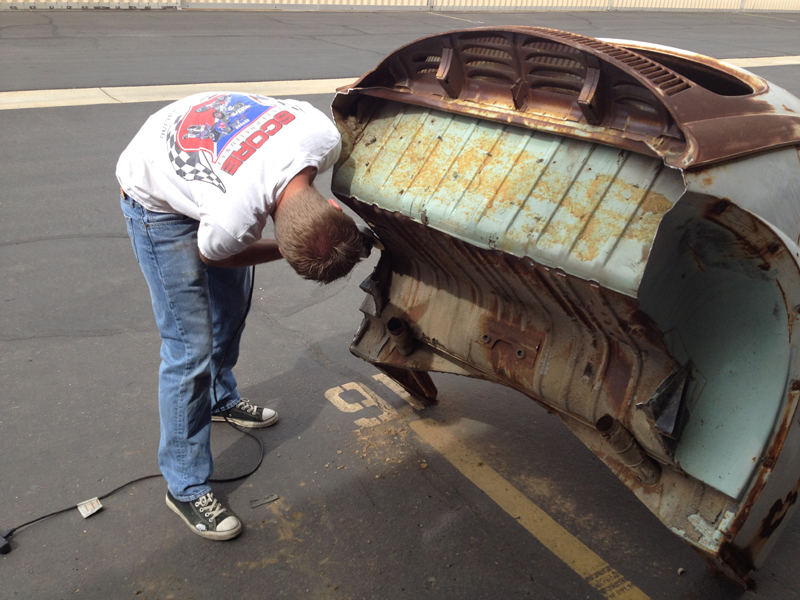
Excess sheet metal removed from firewall, beginning to cut
the wheel well area

Clearancing the shelf to fit over the existing shelf and
around the roll cage
The roll cage passes through the shelf area so we wouldn't be able to
slide the body into place
unless we remove the shelf area. We will replace the shelf once the body
is installed on the pan.

Shelf area removed, working on removing the heater ducts
The stock VW heater ducts enter the passenger area in the rocker
panels just forward
of the shelf. They interfere with our roll cage so we remove them and
cover the hole left
behind to keep water and dirt from accumulating.

New body sitting on the pan for the first time
It's not bolted down or welded yet, just sitting on the pan and
resting on the windshield frame.
The window frame has not been trimmed to final dimensions yet - that's why the
windshield looks
a little too big. We will install the doors to help fit everything
perfectly before any permanent
attachments are made.
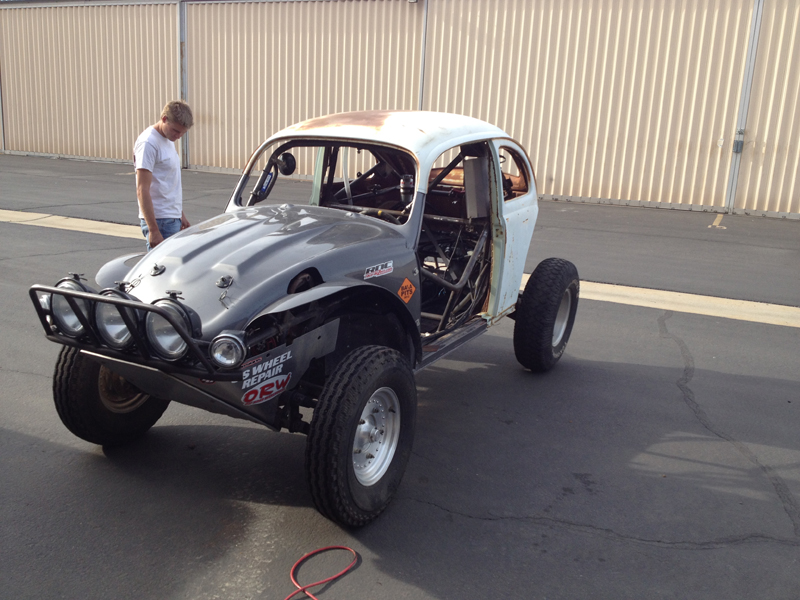
Looking good given that
we haven't spent any time refining the fit yet
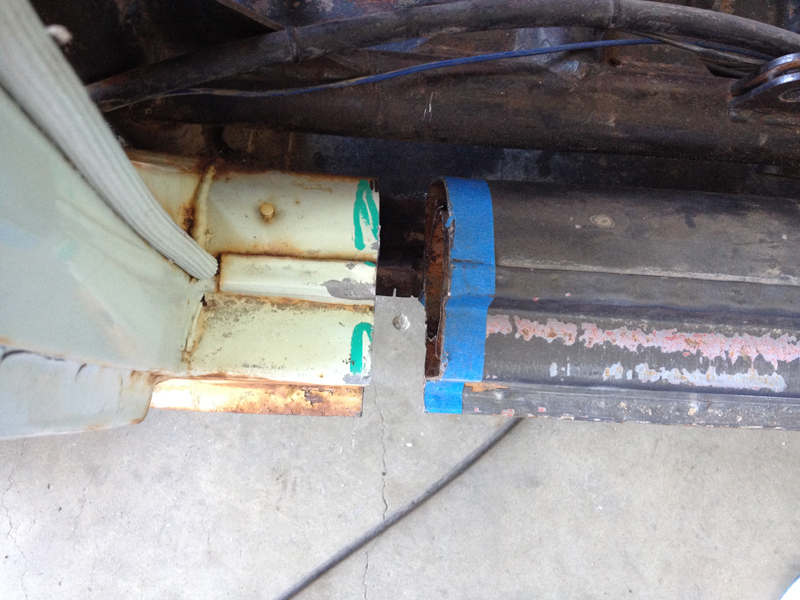
I screwed up the rocker panel cut; I cut on the wrong side of the marks.....
I measured very carefully and marked exactly where the "trim to" line
was. I mistakenly cut
on the wrong side of the line, thinking that I was cutting it big and
would trim it back to fit......
The mistake wasn't this big but I had to enlarge the gap in order to
fill it properly.
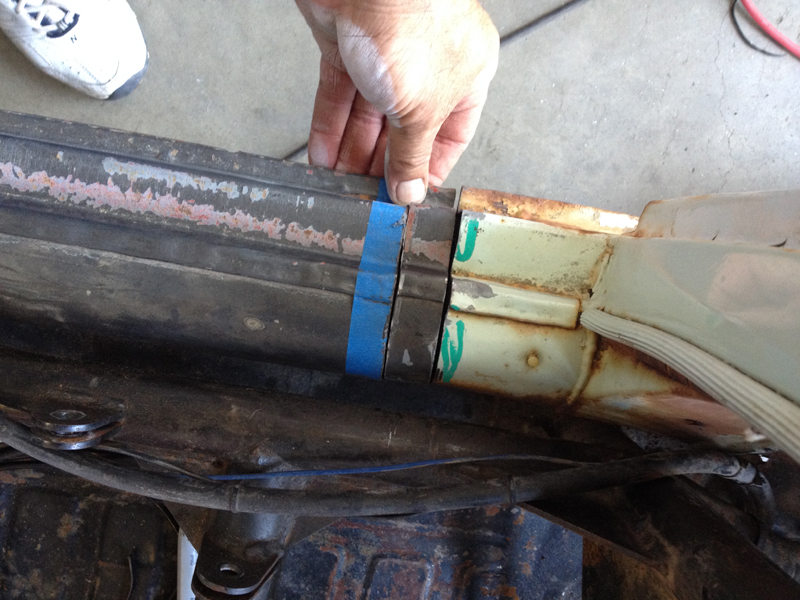
Right side filler piece cut from old body rocker panel
Fortunately, we had the old body to cannibalize for filler material.
I cut a piece for each side;
we'll weld them to the new body while it's off the car, then weld them to the
remaining rocker panels
when we "final install" the body. The body isn't bolted down and is not
quite in alignment in this
photo; when it is, the filler is a perfect fit.

Driver side rocker panel fit
The filler piece has been welded to the new body and this is what it
looks like when sitting on
the pan. It's not quite in place; when it's bolted down the small gap is
closed. You can see
that we still need to do some clean up work on the body before it's ready to
paint (rust removal).
The Damage
Body Removal
Fitting the New Body
Repairs/Upgrades to the Cage
Body Work and Paint
|
|