2014 San
Felipe 250 Roll Over Repairs
The Damage
Body Removal
Fitting the New Body
Repairs/Upgrades to the Cage
Body Work and Paint
![]()
Body Work and Paint
|
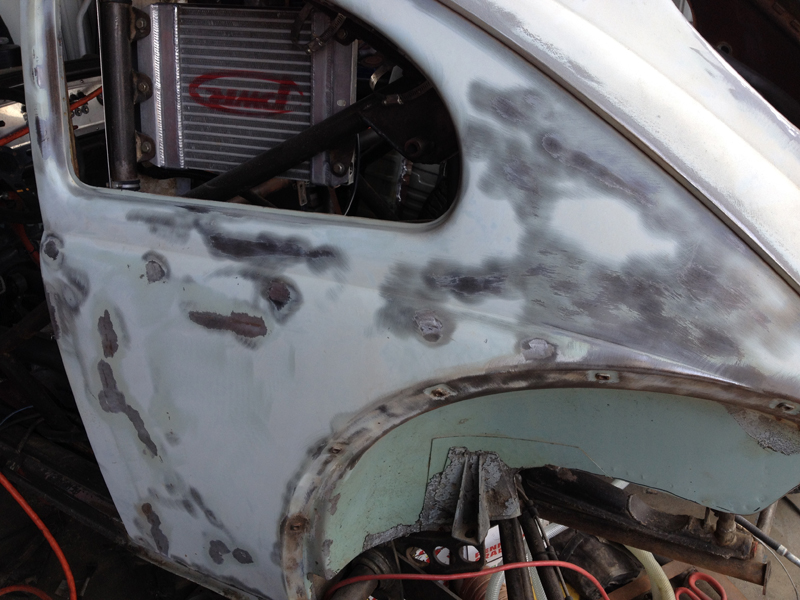
Our "donor body" is from the same year group as our original body, making it over 50 years old. As you might imagine, time, weather and normal driving hazards have taken a toll on it. At first glance, there appears to be a fair amount of rust; fortunately, this is only surface rust and can be removed with a bit of work. There is also some existing body damage that we'll have to repair before painting - nothing we can't manage with a hammer and a bit of bondo...... We plan to remove the body from the car and do the body work before the final installation on the pan. That way, Trevor can be working on the roll cage improvements/repairs while I do the body work. Once we have both finished our tasks, the body will be re-installed permanently. We'll weld the joints at the windshield and rocker panels and bolt the new body to the pan. Once that's done, we'll touch up the welded areas and paint them so that the joints will be invisible to those who don't know exactly where they are..... |

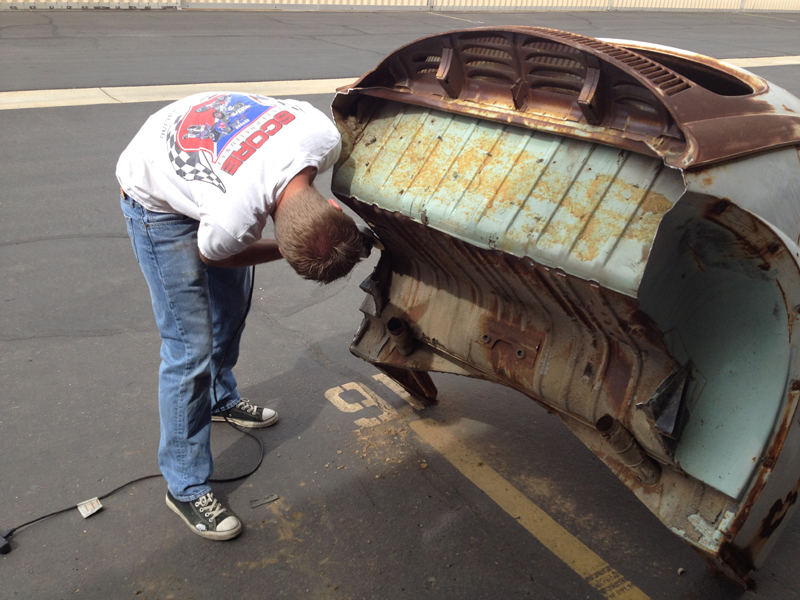
Looks like a bit of a "rust bucket" but it's mostly surface
rust
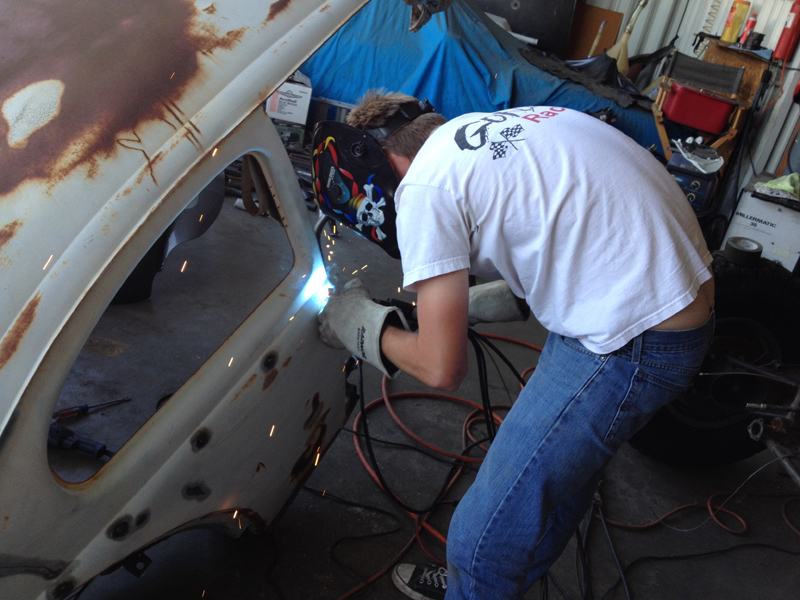
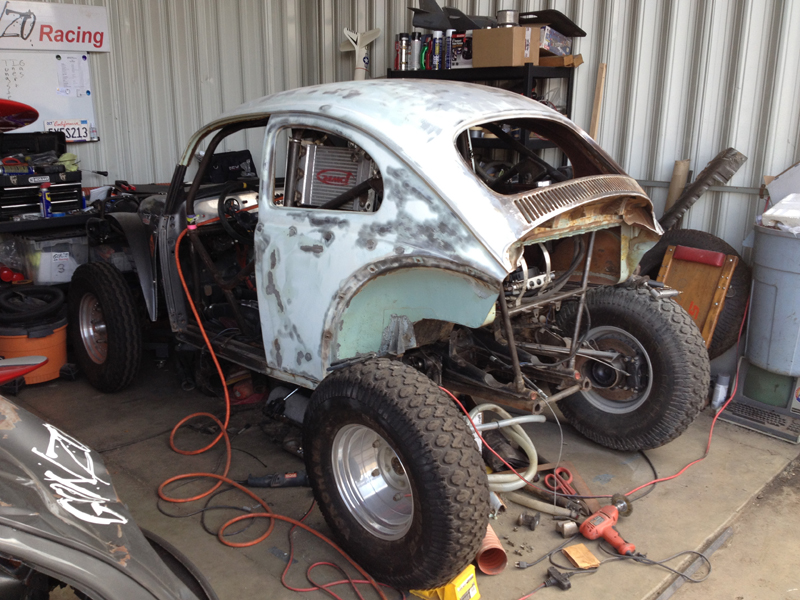
Trevor beginning the body work; cutting the "Baja Bug"
shape
Next, we have to transfer all the "cutouts" for shocks, oil lines,
etc..
Trevor welding up the "trim" holes
These holes are where the aluminum trim strips are attached, we
aren't going to install them
so we chose to close up the holes for a smoother, finished look.
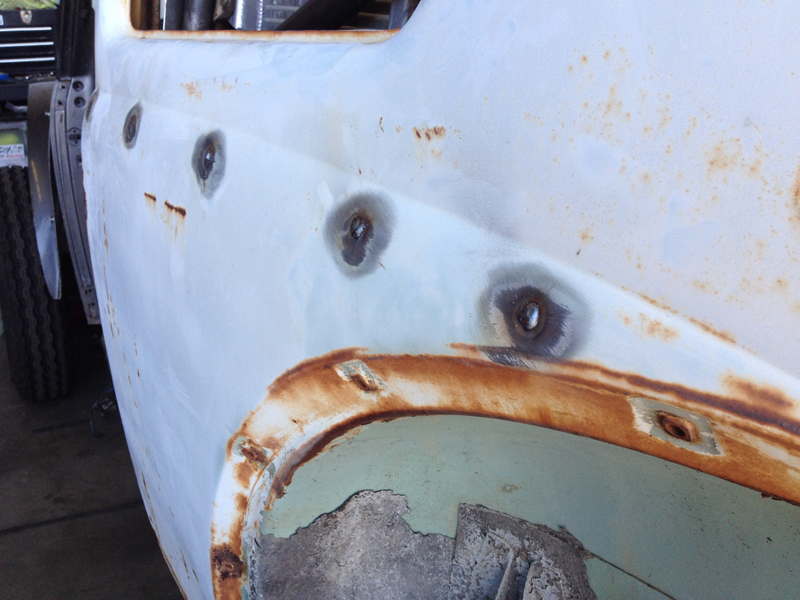
There are 5 holes on each side; they would also have
existed in the doors but
we've already closed them up there
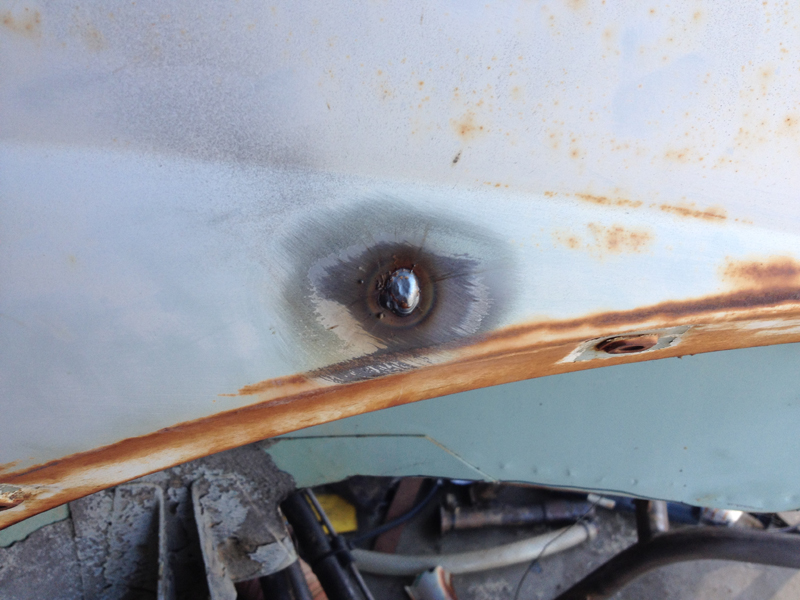
We'll dress the welds down so that the panel is smooth
before painting
Welds dressed and ready for blending with filler

Trevor sanding to remove rust
Rust removed and ready for filler and primer
This is the "ugly duckling" stage - we've hammered down all the high
spots and sanded away
all the rust, leaving lots of bare metal exposed. Next, we'll use a little
glazing putty to fill the
minor "low spots", sand everything smooth then spray a "primer" coat
to protect the body from
rusting again.....
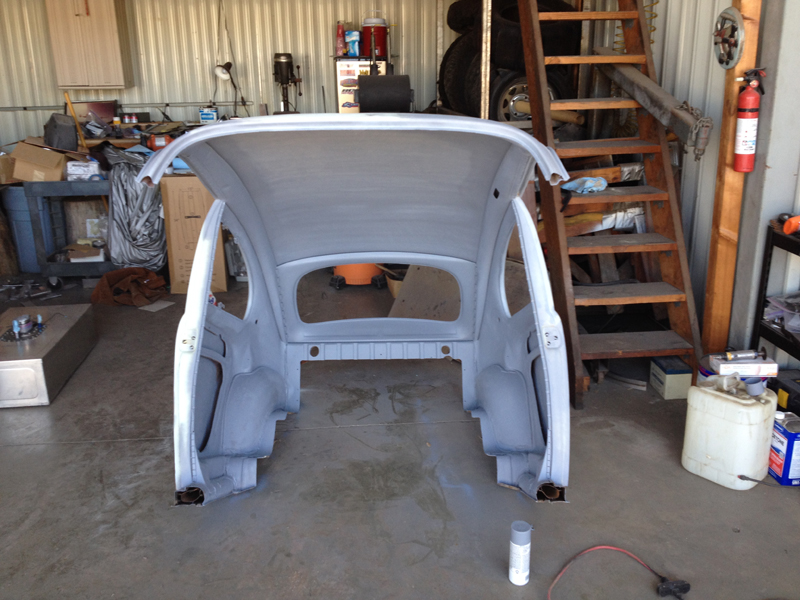
Interior cleaned up and primed for paint
We didn't spend any time making it perfect, just want it painted to
match
Exterior smoothed and almost ready to be primed
Again, it's a race car so we didn't spend the time required to make
it a "show car"
but it'll look good when painted and stickered.

Interior painted to match
We didn't spend any time trying to make the interior perfect,
we just wanted it to
match the remaining body section. Now that it's painted, we can install it
on the pan.
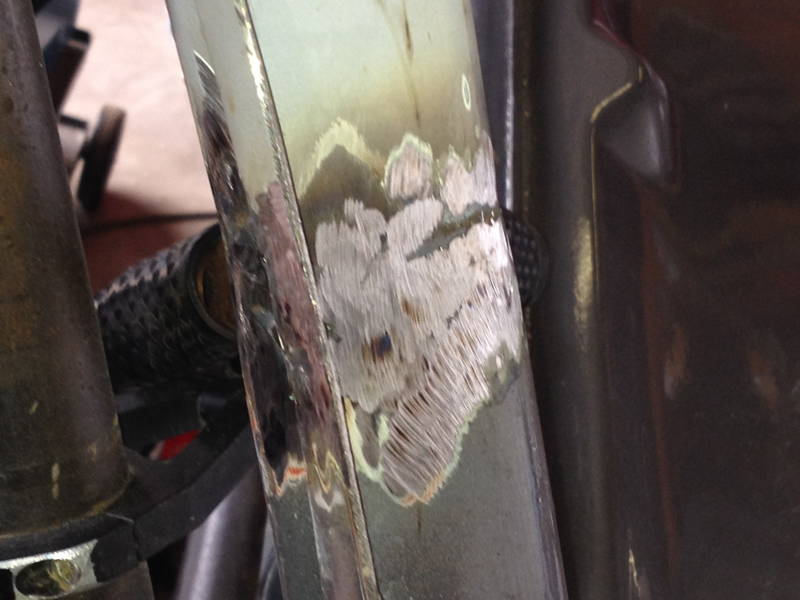
Co-Driver side Windshield pillar welded and ground flush
The new body is now installed permanently on the pan and is welded to the
remaining portions of
the old body. In preparation for painting the car,
we
need to grind the welds down flush with the
surrounding surfaces and then
fill any imperfections with glazing putty. Once that's complete, we
can
prime
those areas, then paint the car.
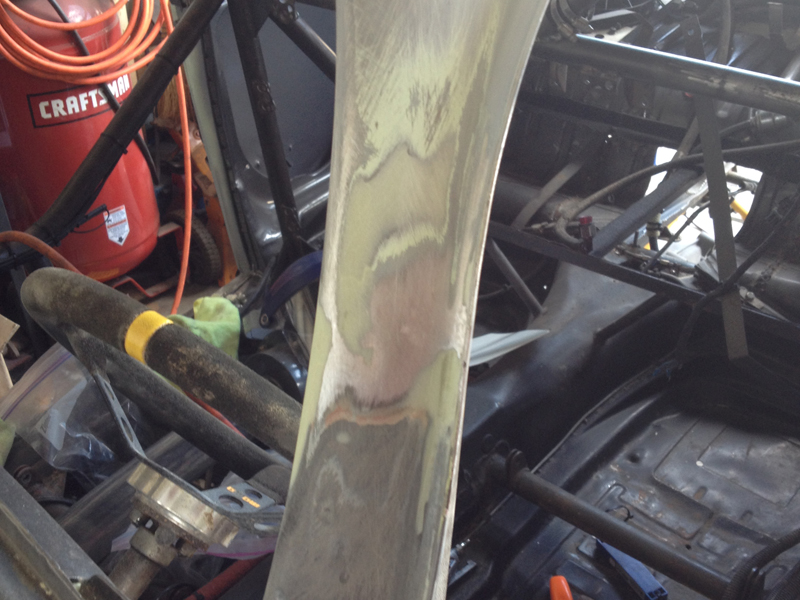
Driver's side windshield pillar after filling
This is the driver's side windshield pillar after grinding the welds and filling
with a little glazing
putty. The body work isn't complete here, we still need to do a little
blending and smoothing
before we can prime and paint.....
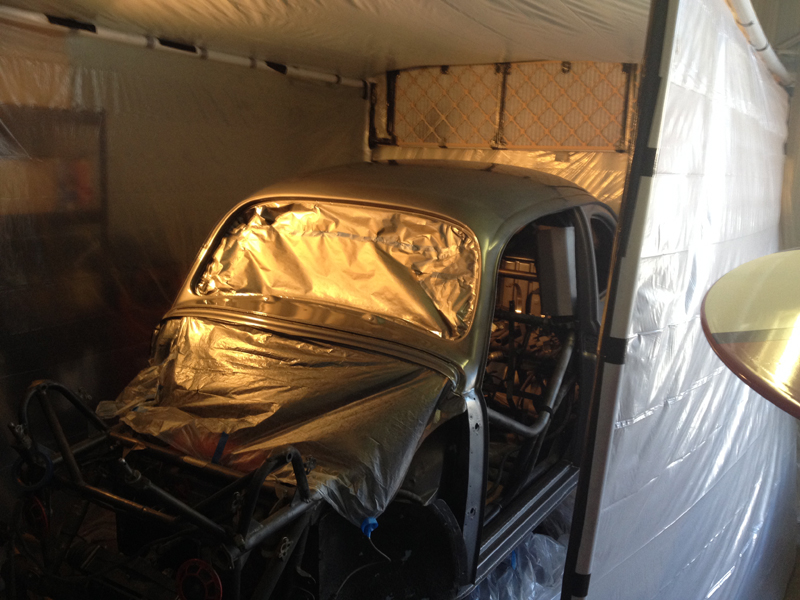
Painting complete!
We built a temporary spray booth so that we could keep from getting
overspray on
everything in sight....
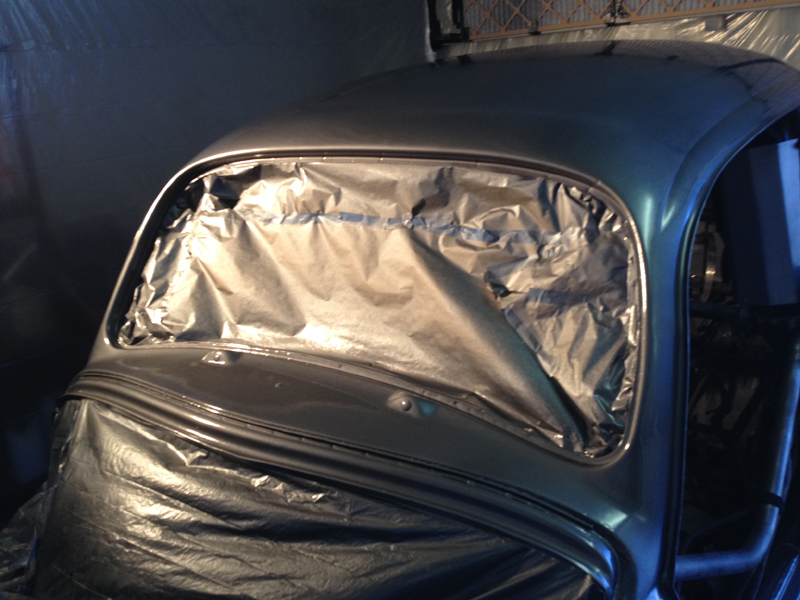
The Body joints where the old meets new are hard to spot
If you know what to look for, they are visible but only on careful
inspection.
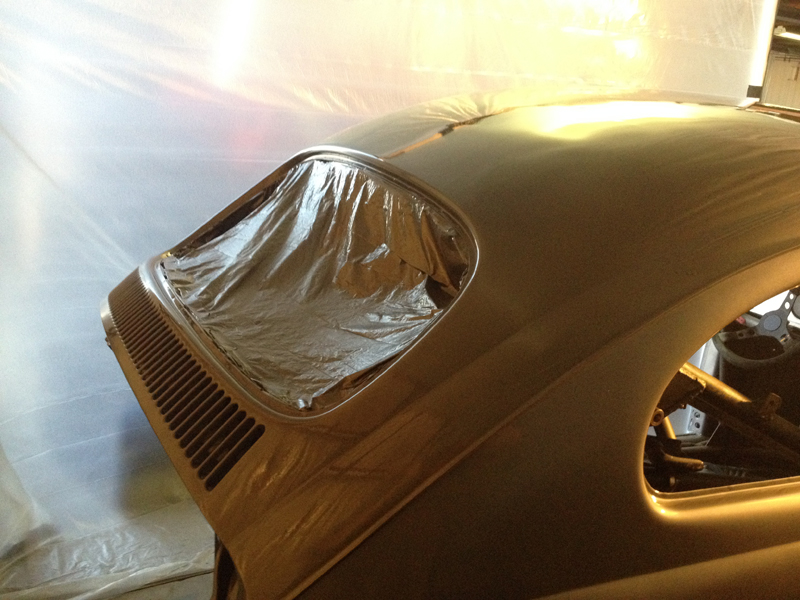
This is as straight and shiny as it'll ever be.....
Desert racing is not kind to paint, there will be scrapes, scratches, and
dings by the
end the next race.....
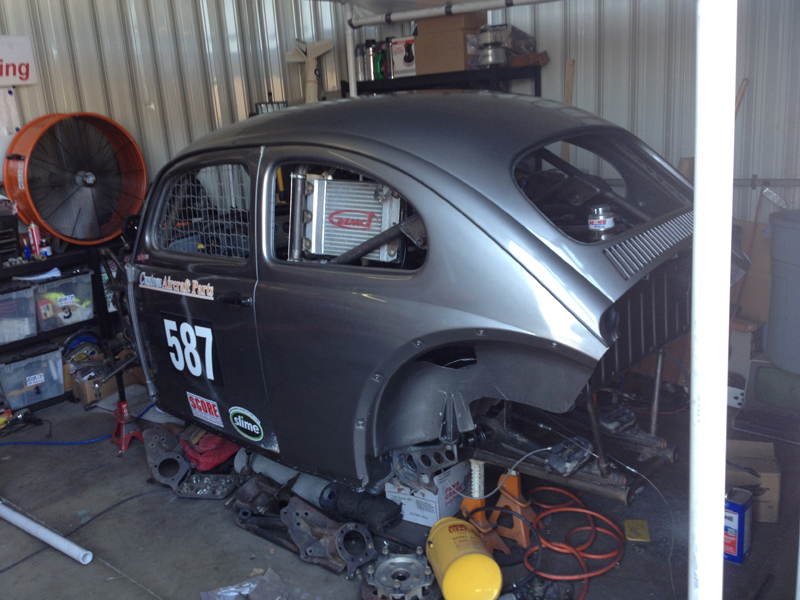
Doors installed to check the color match
It's not perfect, but close enough for a race car!
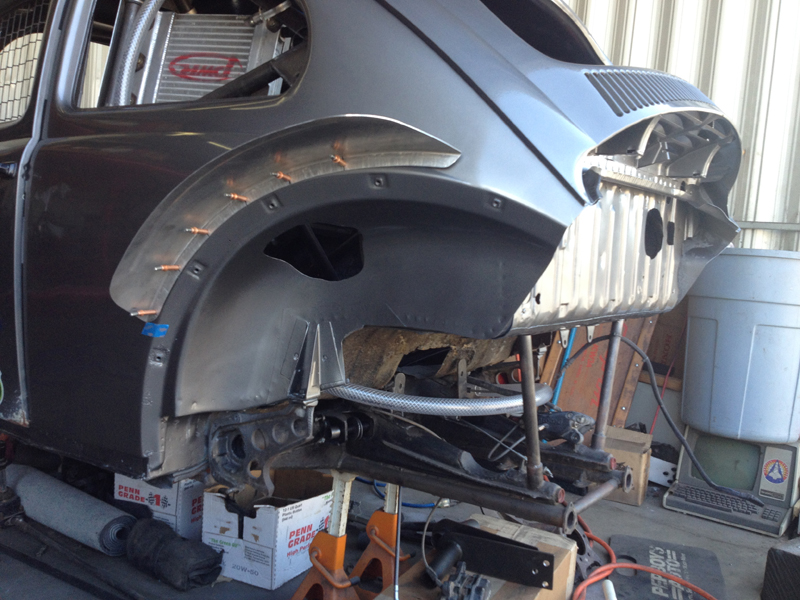
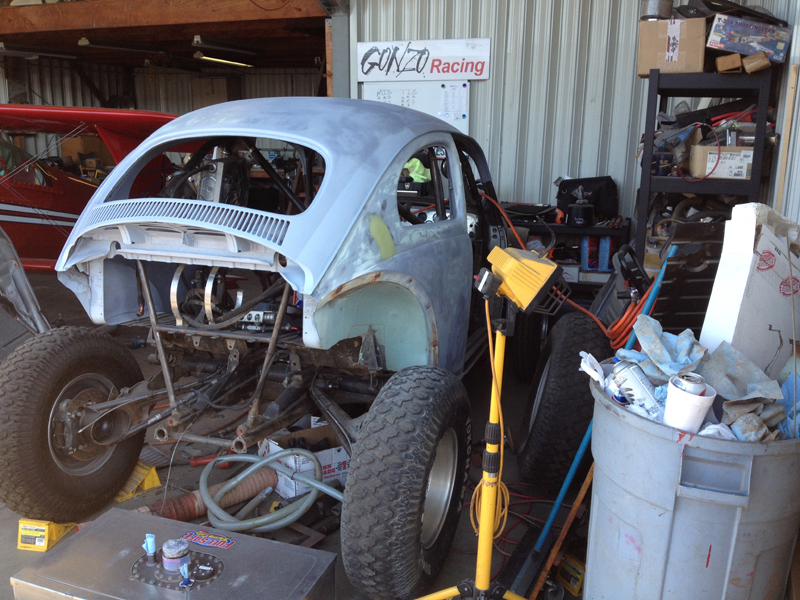
Installing new fenders
One of the old fenders was destroyed in our roll-over - we are installing a
new set. The copper
colored things holding the fender in place are "clecos" - spring loaded
temporary holding
devices that are inserted into the mounting holes. Those holes will
eventually have aluminum
rivets installed in place of the clecos. The big hole in the wheel well is
where the shock goes
through the body.
First trip out of the shop since the 2014 San
Felipe 250
You can see that the paint match isn't as good as we'd like; the door is
noticeably darker than either the hood
or the new body section. We'll be repainting the hood and doors to match
the new body color. First, we'll get
the car ready to run then we'll worry about the paint...... We still have
a few contingency stickers to place on
the rear quarter panel; they'll fill the empty space you see just above the
"Paradise Motorsports" sticker.
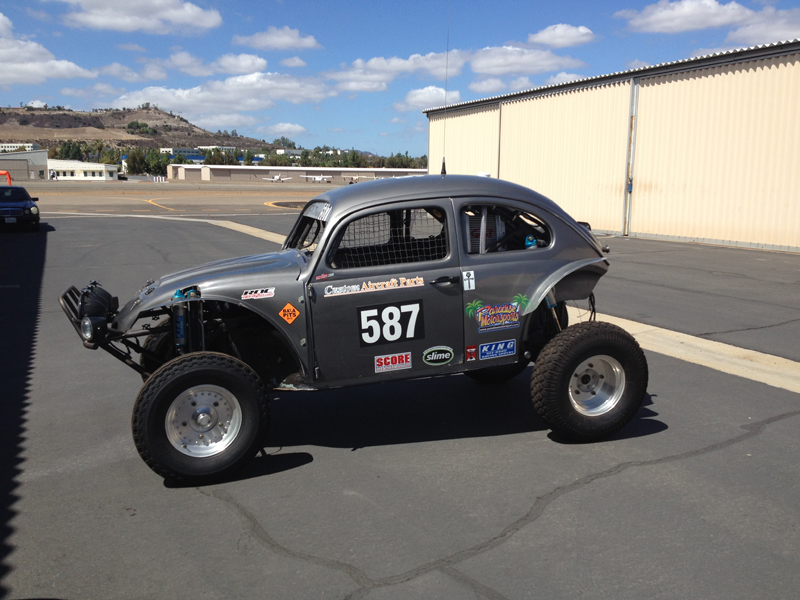
Repair complete!
The Damage
Body Removal
Fitting the New Body
Repairs/Upgrades to the Cage
Body Work and Paint
|
|