![]()
Baja Bug
Front Suspension Update
![]()
|
Page 1
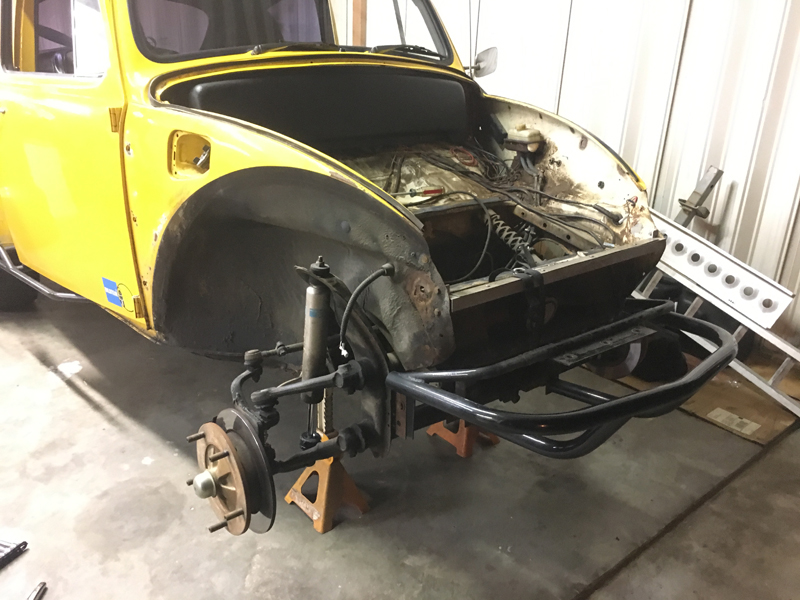
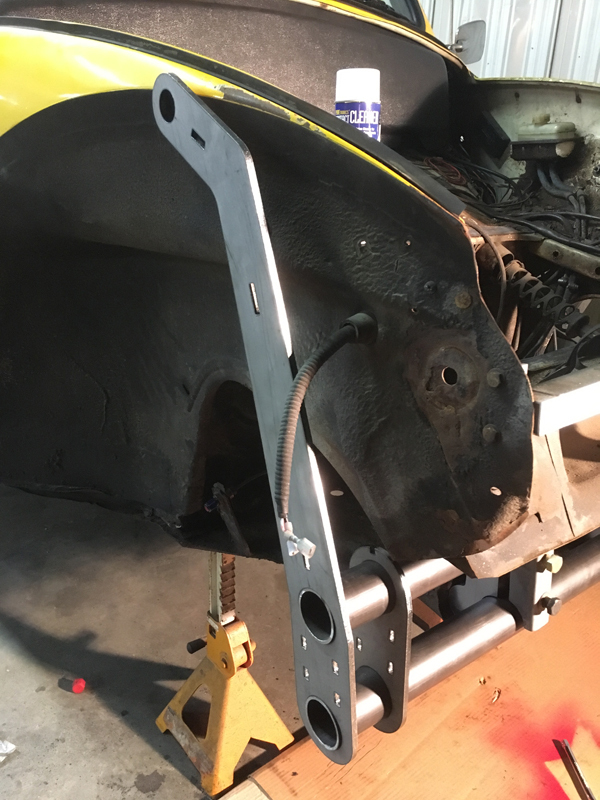
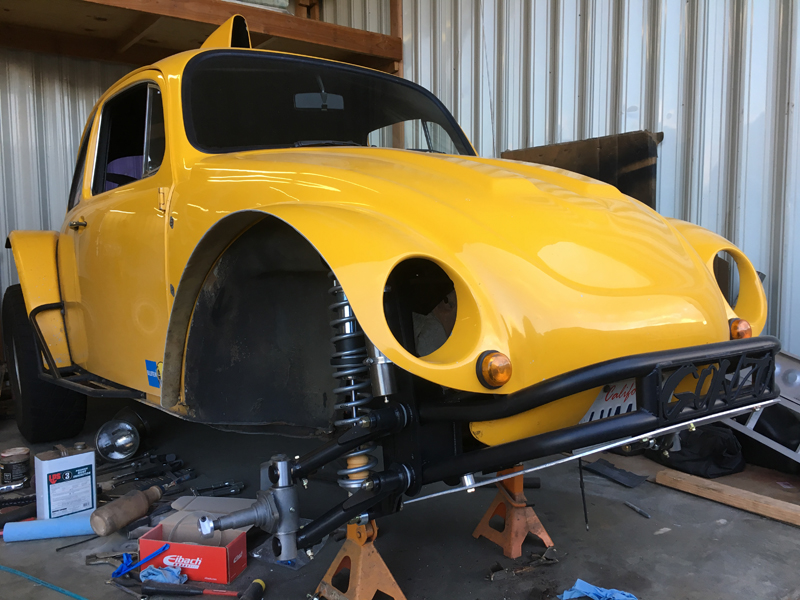
The VW ball-joint front suspension is okay for on-road cars but has some design characteristics that limit its utility in off-road use. The most important limiting characteristic is that the weight of the car is carried by the lower ball joints in tension, rather than compression. Wear and the shock loads experienced off-road can cause them to pull apart suddenly, allowing the affected wheel to depart the car...... That's not a very attractive attribute when you're 100 miles from help in the desert. The second major limitation is the inability to support high angular movements - restricting the available suspension travel. Our first task in the update is to convert from Ball-Joint type suspension to the older but more rugged King/Link-Pin type. This isn't a simple "swap one suspension beam type for the other" conversion though; the chassis "Frame Head" is different for the two suspension variants..... This requires that we either change the frame head to a Link-Pin style or use an adapter of some sort to secure a Link-Pin beam to the Ball-Joint frame head. We chose the second option, adapter bars. We'll be careful to monitor how this option performs; changing the frame head is probably a stronger option.
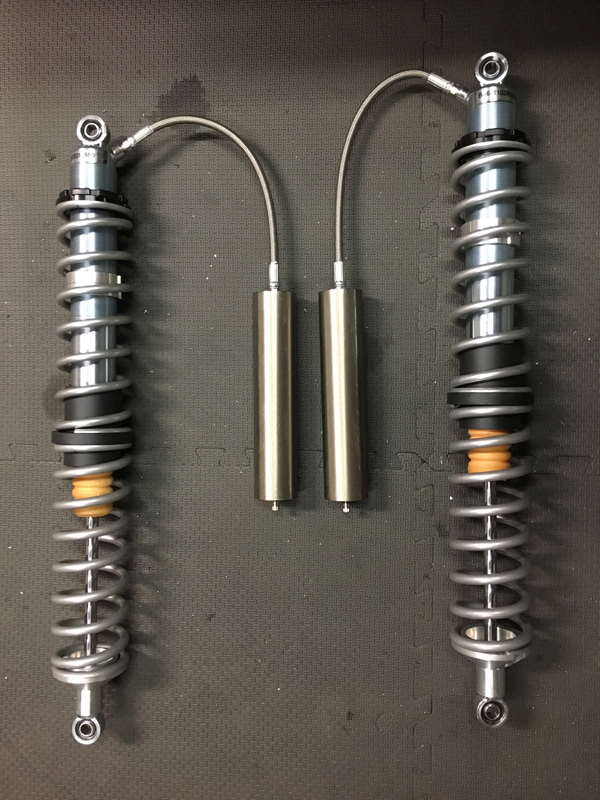
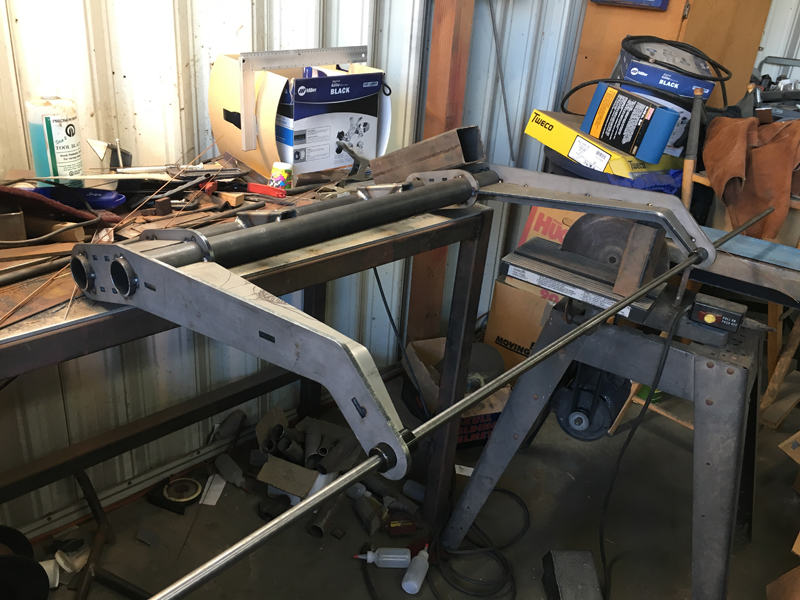
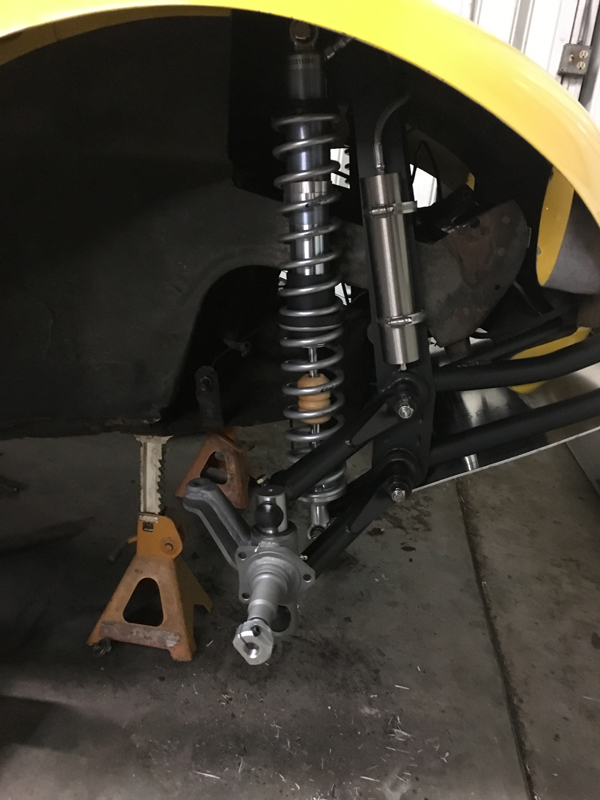
Trevor chose to move away from the traditional VW "torsion pack" suspension beam design in favor of long travel "coil-over" shocks with external reservoirs - old school style with a modern touch. Torsion pack suspensions work well but generally don't fare well when asked for the twist angles necessary to achieve the travel range we're looking for - "coil-overs" make it easy.
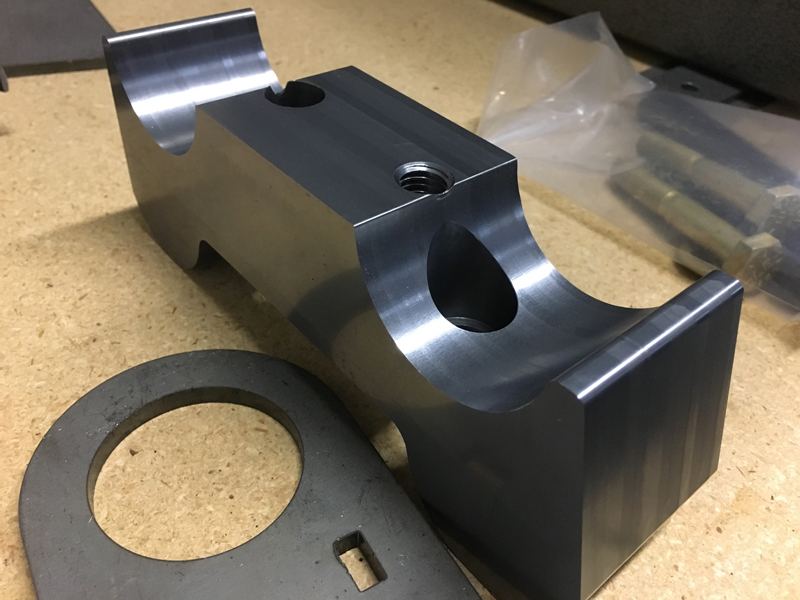
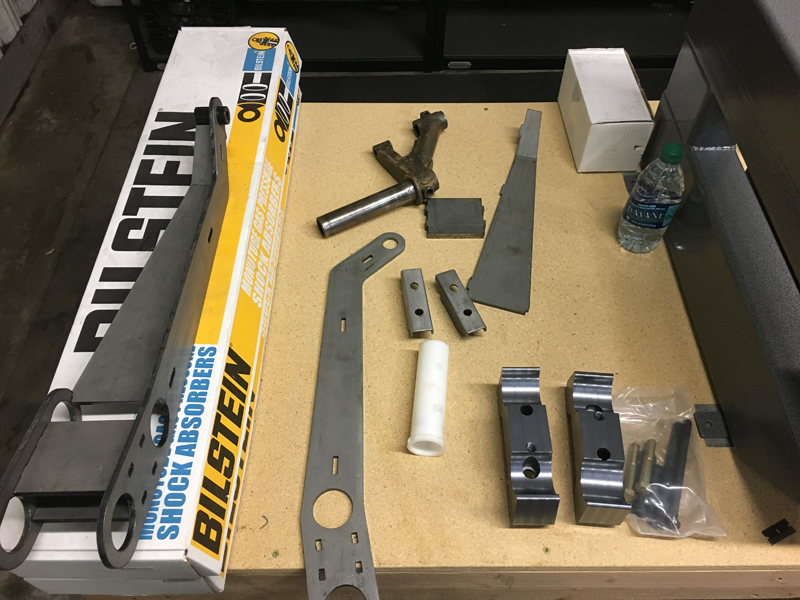
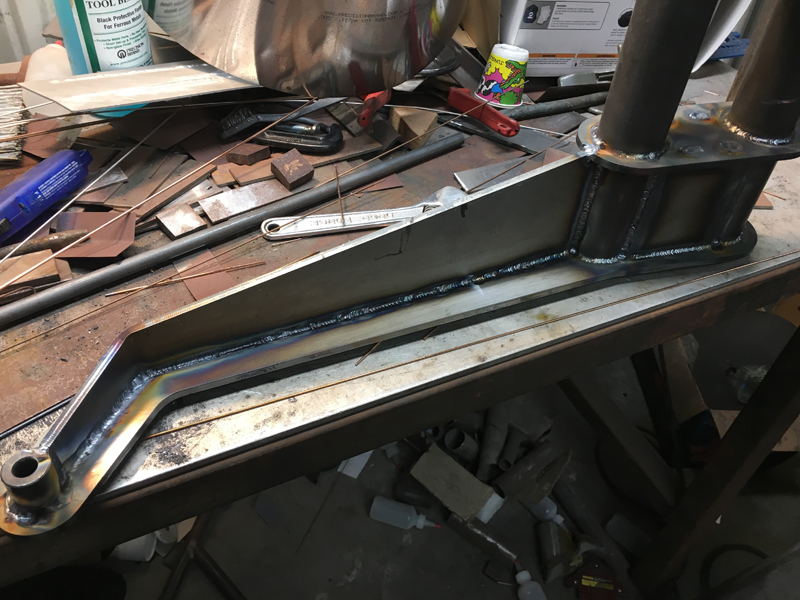
Not having a "Link-Pin" suspension beam handy and not wanting to use a "stock" beam anyway, we chose to build our own. Trevor purchased a "long travel" shock mount kit for link-pin beams and we proceeded to fabricate exactly what we wanted from raw materials.
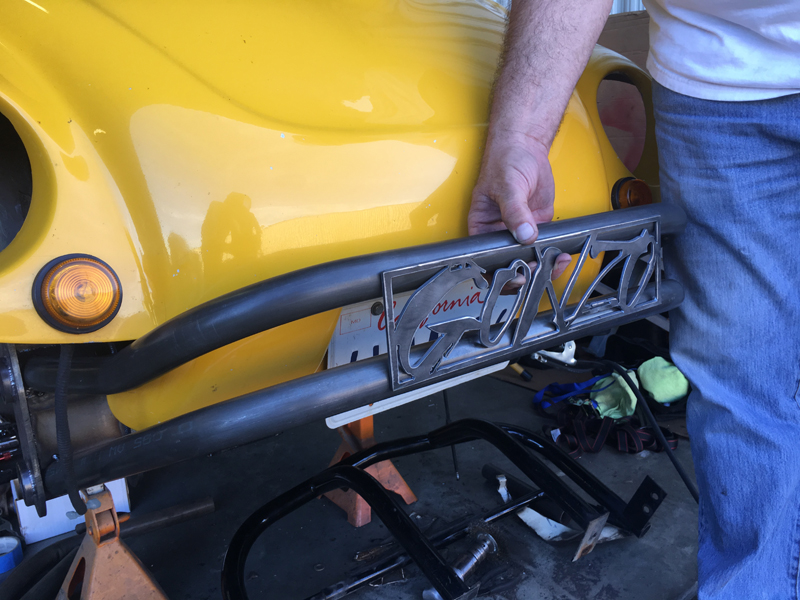
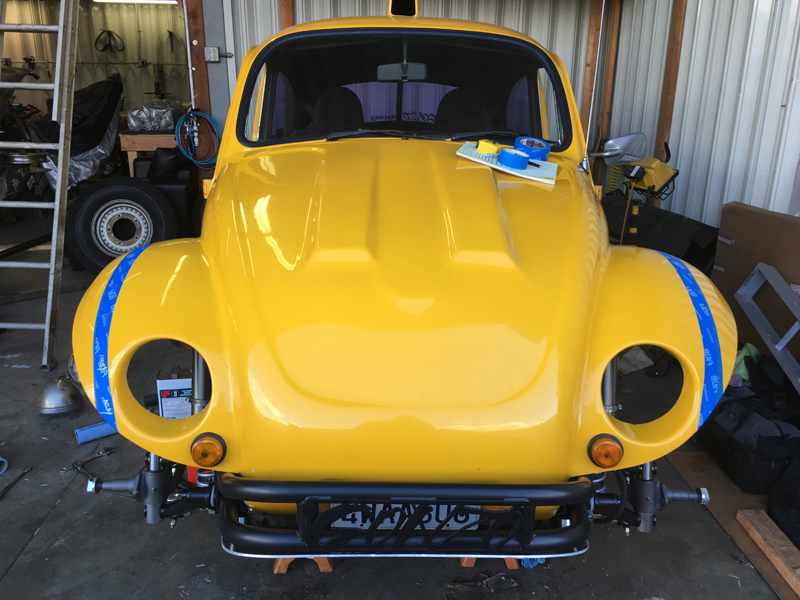
With the beam complete, we turned our attention to designing and fabricating a new bumper/skid plate assembly. This was complicated by the need for the fiberglass hood assembly to be hinged so that we can access the spare tire and fuel tank.
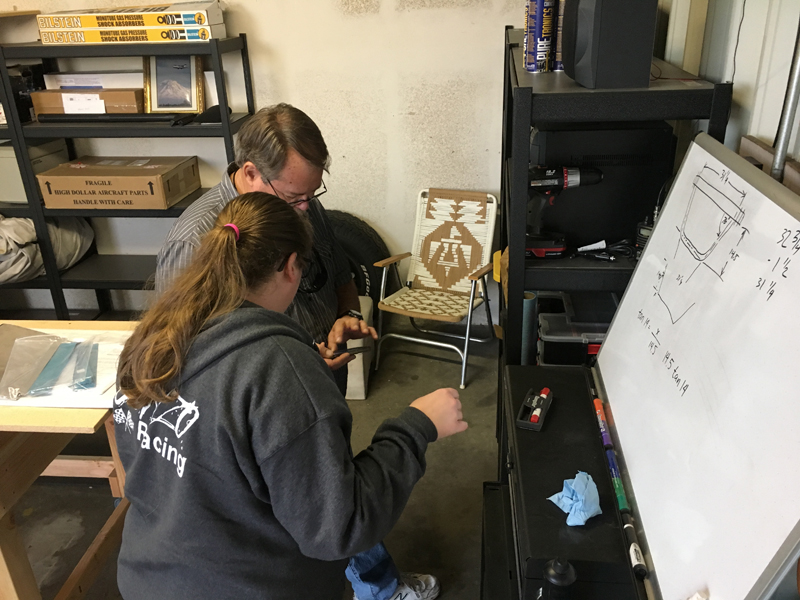
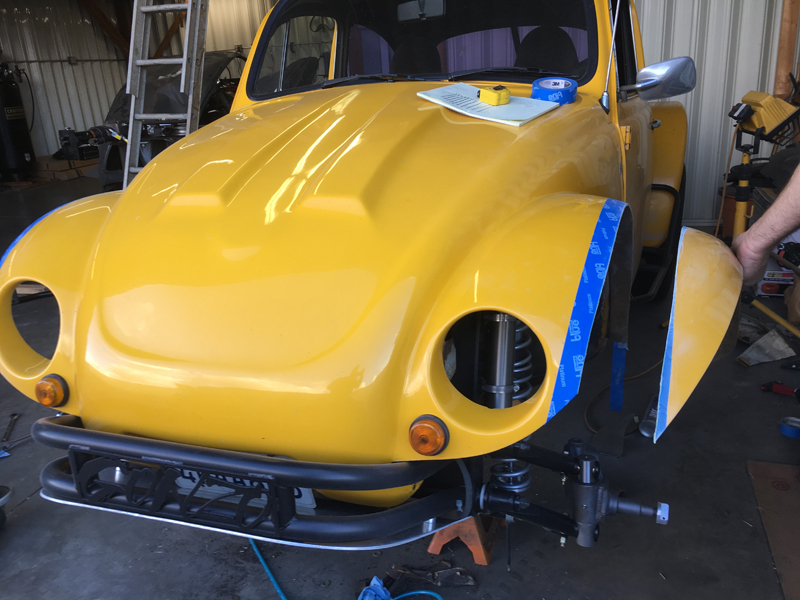
With the actual suspension portion complete, it's time to work on some of the other details that need attention as a result of those changes. First, the additional suspension travel will cause the tires to contact the hood at "full bump" unless we trim them a bit:
Page 1 |
![]()