![]()
Baja Bug
Rear Suspension Update
![]()
|
Page 7 "Final" Details
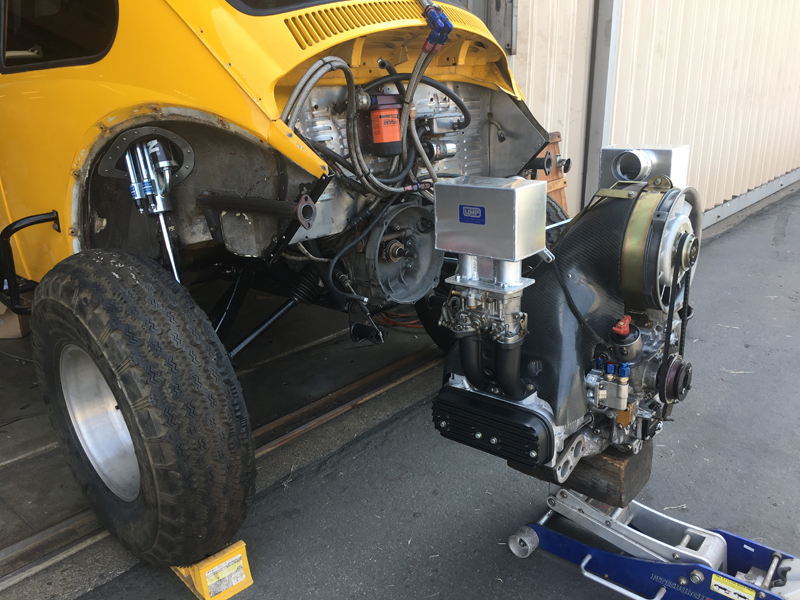
Trevor built and installed this Type 4 engine years ago and it was time to "freshen it up" and change to a slightly different camshaft; the original cam liked to run at 4000 rpm and above and he's looking for better performance in the lower rpm ranges. While the engine was apart, he did a normal overhaul with new bearings, rings, seals, oil pump, etc.. Hopefully, he'll get many more years and miles out of it!
It's always a bit of a wrestling match getting everything to line up just right. Even when using a clutch disk centering tool when installing the pressure plate, it always seems there's a bit of misalignment when it comes to getting it on the transaxle input shaft..... We finally got it to slide into place and then adjusted the clutch slave cylinder for proper clutch operation.
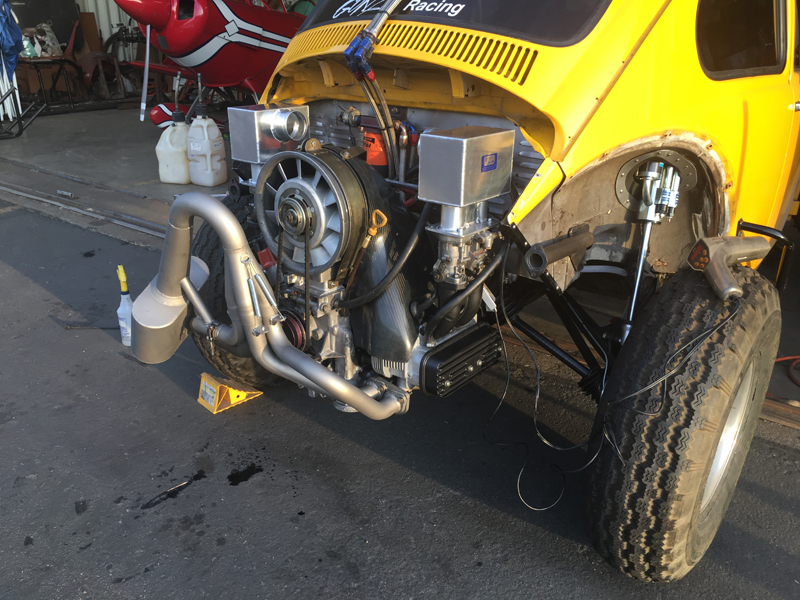
This thing has been in pieces for so long, it took us a while to find all the correct hardware to get it reinstalled..... That, and the fact that some of the hardware needs are different for the bus transaxle meant that we spent way more time than we wanted getting it installed properly. Once it was bolted in place, we started making all the fuel, oil and electrical connections followed by adjusting the valves and adding oil. Before the first start, we always make sure to build oil pressure - sometimes it's a challenge to get the oil pump to start pumping. It's like a "vapor lock" situation on first start ups - the oil pump is dry and can't draw oil from the sump without help. Once we pulled the oil pump cover plate off a little, oil began flowing into the pump naturally and we were able to build oil pressure without trouble afterwards. Once we were sure we had good oil pressure, it was time to attempt a first start. After a few sputters, we adjusted the ignition timing and the engine started and ran normally - we followed the cam "break-in" procedure recommended by the manufacturer and noted good oil pressure and temperature for the duration of the run. We'll run it a few times to get the carburetors in sync and tuned for best performance then change the oil and adjust the valves again.
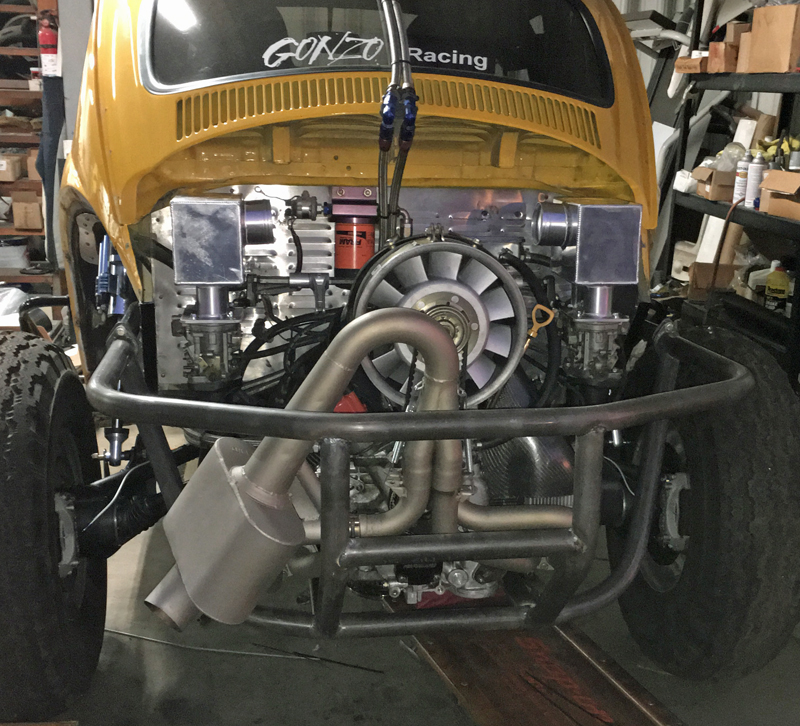
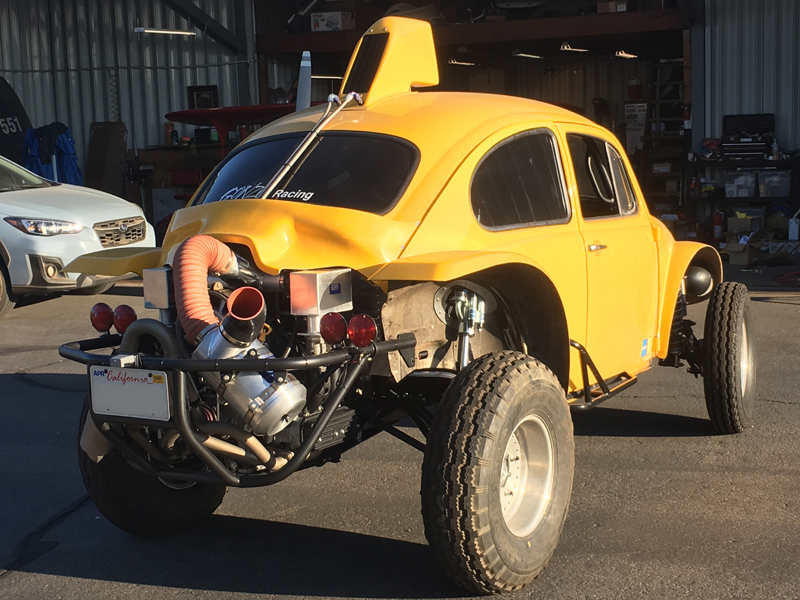
Now that the engine is installed and has been run, we can finish up the last details - mounting and plumbing the air filter and installing tail lights and the license plate (this is going to remain street legal). Trevor also wants to retain the "deck scoop" that was installed previously but the UMP air boxes interfere with it so some creativity is required...... I'm not sure how that'll work out but it's an iconic "old school" feature that he wants to retain.
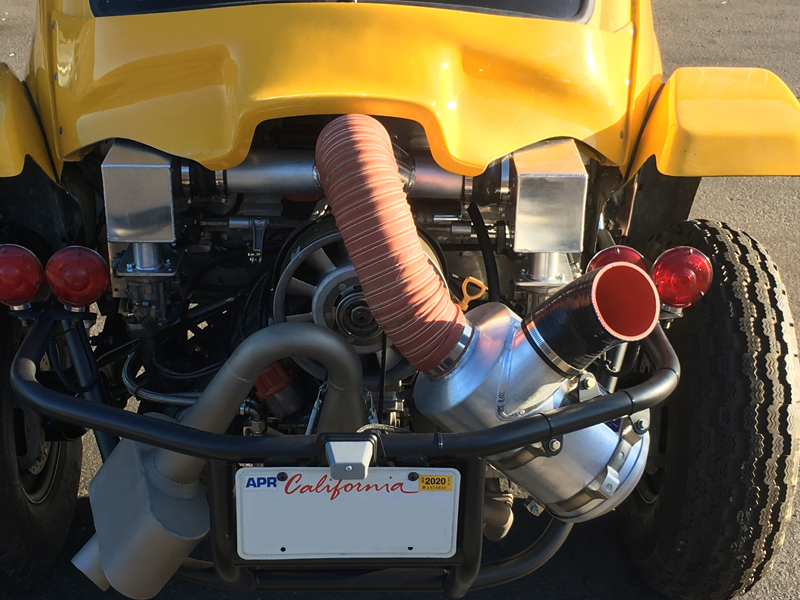
There was no way to keep the deck scoop intact with the new engine location and UMP air boxes; Trevor settled on retaining the upper portion intact and trimming the lower portion as necessary. We think the end result retains the "old school" look we wanted while allowing the updated air filtration that we wanted for off-roading.
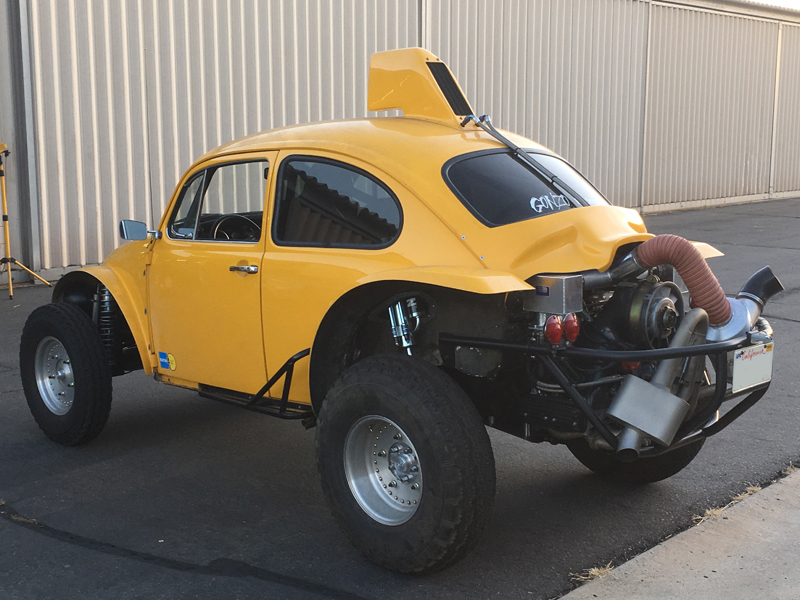
Just a few things to "tidy up"; the engine skid plate needs to be installed (done right after photo taken), there is a little electrical work to do for the headlights (connect grounds) and some minor trimming of bolt shanks that protrude below the floor pans. After those things, we're left with re-jetting the carburetors (they may be close but we changed to smaller venturis so they may need some adjusting) and tuning the shocks.
Page 7 |
![]()
.jpg)