Race Prep. and Repairs
Overview and Checklist
Post Race Disassembly
Post Race Inspection
Repairs and Preventative Maintenance
CV Polishing and Prep.
Suspension Tuning
Post Race Disassembly
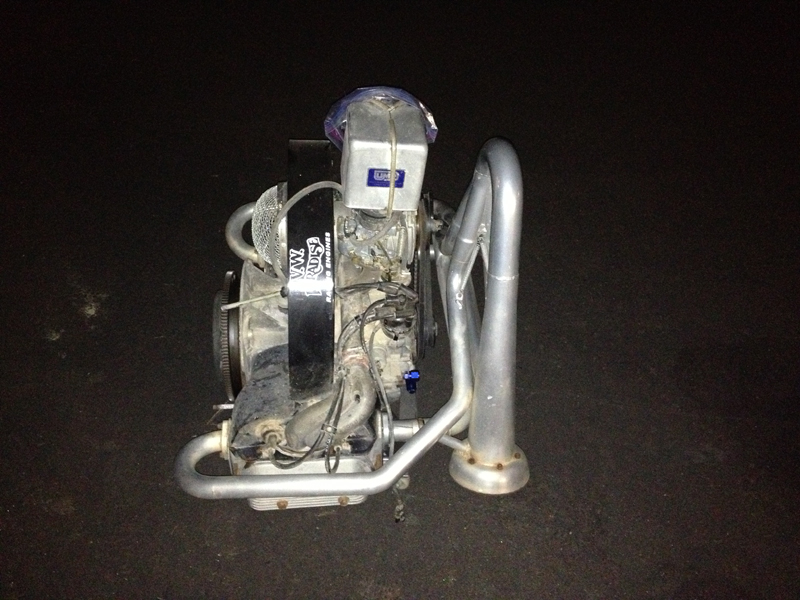
Engine removed for service
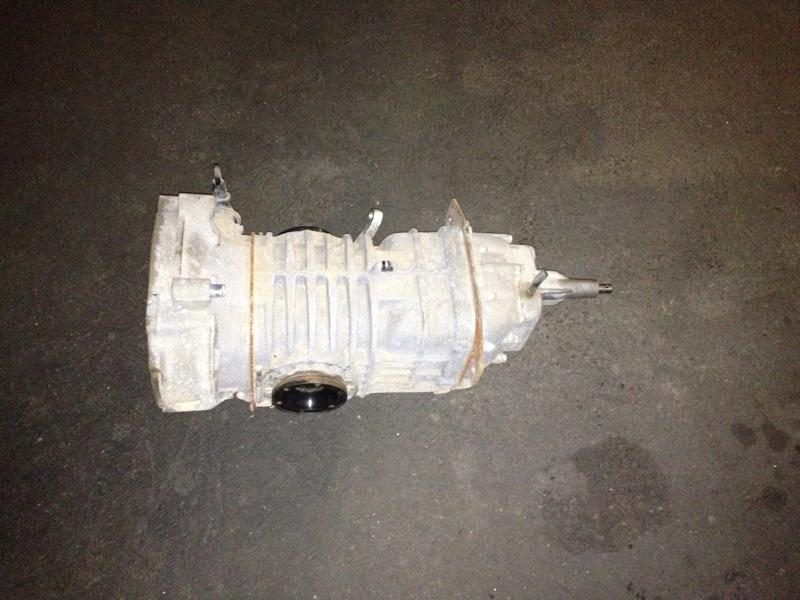
Transaxle removed for service
(you can see our "mid-mount" plates sandwiched between case sections)
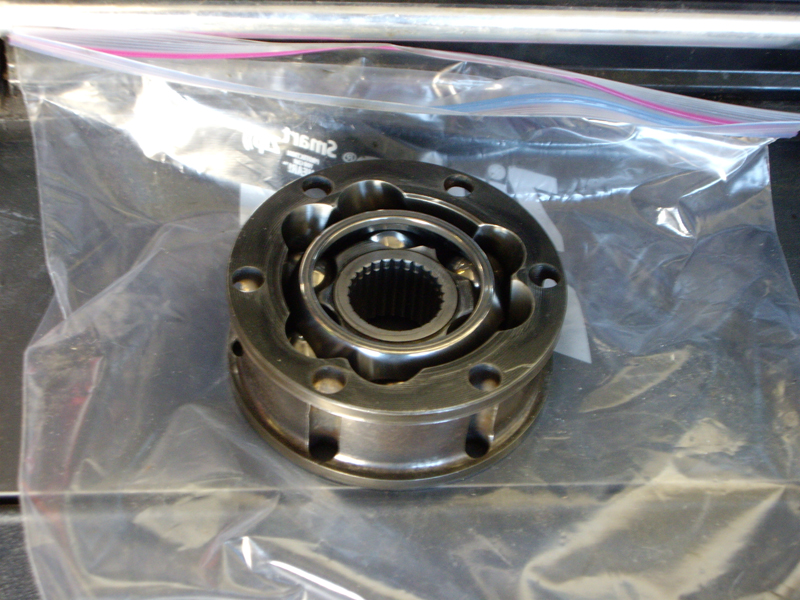
One of the CV's removed and cleaned for inspection
We're looking for pitting, scoring or cracking. Some of the
inspection is done purely
by eye but crack detection requires
other methods.
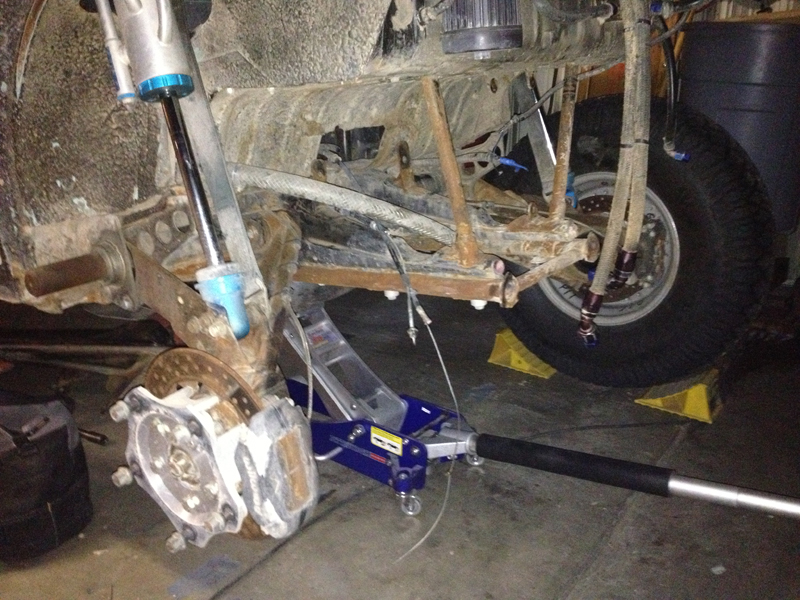
Ready to begin rear suspension disassembly
The water crossings really make a mess out of the car - all the steel
looked new prior to the race
but looked just like
this at the finish line..... We will remove the rust,
re-apply a black finish and
then cover the entire structure with an
anti-corrosion coating.
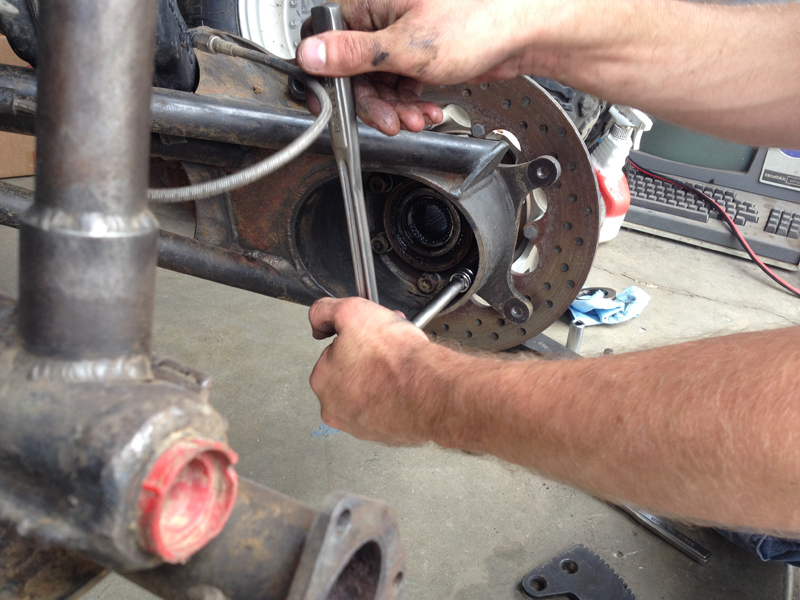
Removing the Microstub bolts
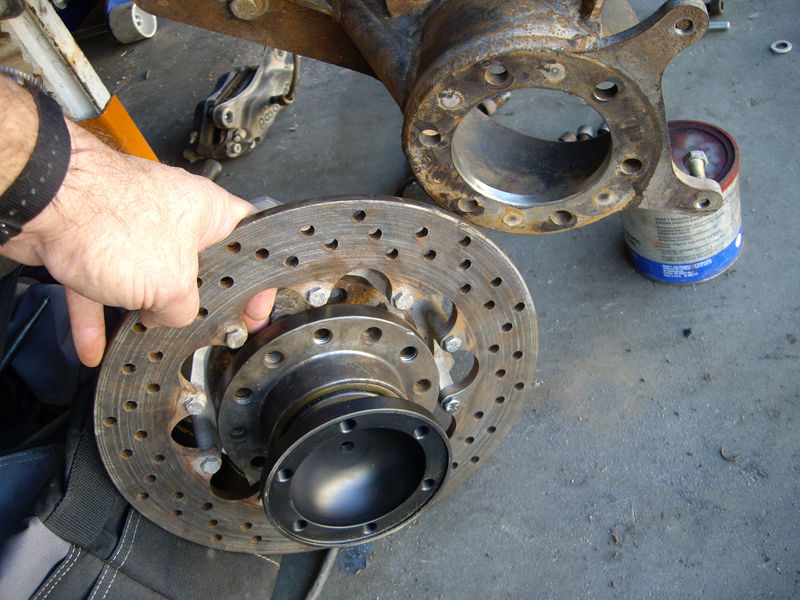
Finally, the left micro stub assembly removed from the
trailing arm!
The hole in the trailing arm is intentionally a tight fit for the
micro stub; that allows most of the load to
be carried
by the micro stub housing directly to the trailing arm without going
through the retaining bolts.
That can make
removal difficult once a little corrosion gets started.
That's a spare stub axle in the micro stub
to keep it all in one
piece while we handle it (it doesn't just "fall apart" but
it's better to be sure....).
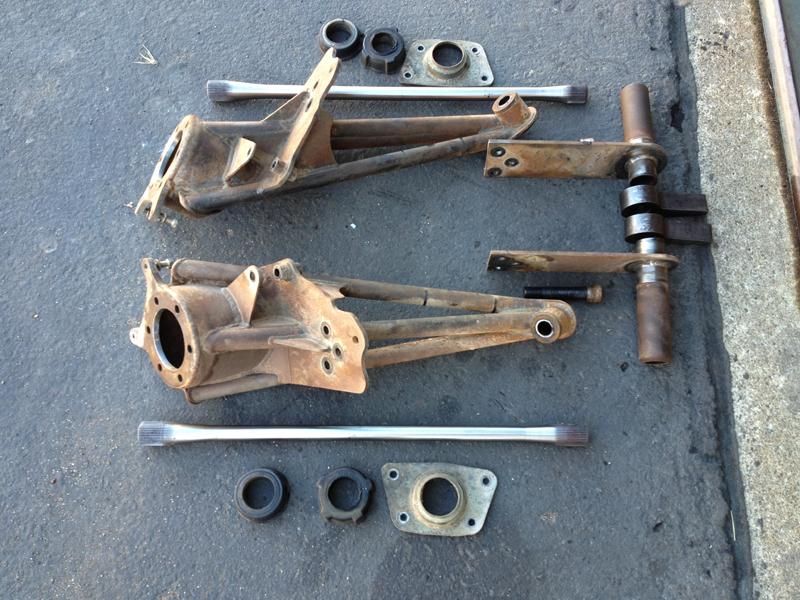
All the rear suspension parts ready for cleaning and
inspection.
Time to cycle the torsion bars out of service but we'll crack check
them anyway to be sure we can use
them as spares.
We'll clean up the spring plates and torsion "fingers" so
they can be "mag checked"
for cracks. Usually, the spring
plates can be welded if any cracks are
detected but the torsion fingers
are junk if any cracks are found. We'll clean
up the trailing arms and use
a dye penetrant to check
them for cracks. The spring plate grommets and center IRS pivot
bushings are replaced every race; the old pivot bolts go in the trash and
new ones are installed.

Entire rear suspension assembly without the torsion
housing.
Just thought it might be interesting to show what the entire assembly
would look like if you could see inside
the torsion housing. The "pre-load" (ride height) is adjusted by set
screws that push up on the center adjuster
"fingers", thereby rotating the torsion bar to gain ground clearance. That
doesn't make the torsion spring any
"stiffer", it simply sets the "ride height". Each torsion bar can be set
independently with the adjuster but we
still have to initially "clock" the torsion bars in the center adjuster fingers
to optimize our adjustability.
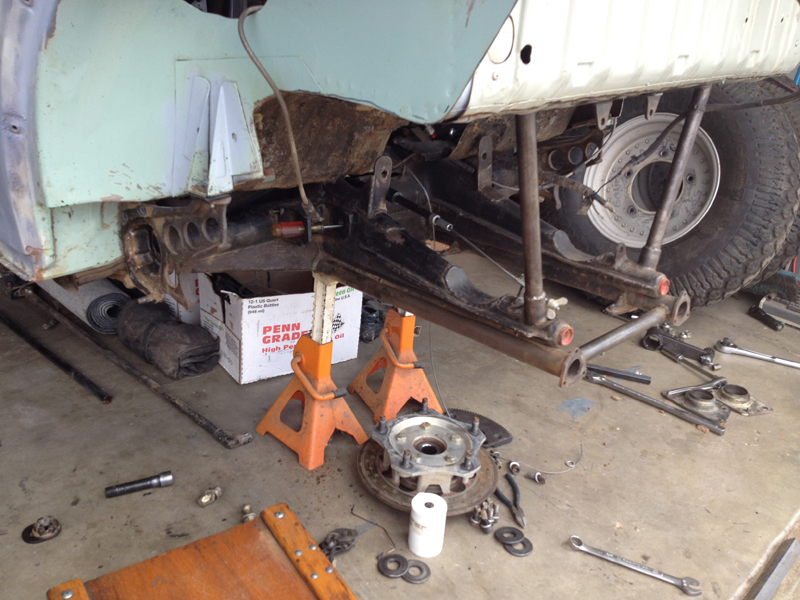
Rear suspension removed
This is what the rear end looks like after the entire rear suspension
system has been removed. Now that it's out of the way,
we can get a close look at the torsion housing, inner IRS pivots and the "frame
horns". In this particular case, we found a
couple of problems with the left side IRS inner pivot; the nut that receives the
pivot bolt (visible in the lower left hand corner
of the photo) has come loose from the pivot bracket inside of the frame horn and
the pivot bracket to torsion housing weld is
cracked as well (a result of the pivot bolt not being secure in the pivot.).
We'll re-weld the pivot bracket then cut open the
"inside" face of the frame horn to gain access to the nut and weld it back in
place; it's all "minor surgery" and shouldn't
be a big deal.
Rear Shocks
We didn't show it here but we also inspect the rear shocks for problems.
As long as they were still holding
pressure and there
are no oil leaks, we just look at the exterior condition
and check the end bearings. It
seems like we have to replace a few of
them every couple of races,
they get "pounded out"......
Obviously,
we look for bent or otherwise damaged shafts, broken end
fittings,
damaged end bearings, etc..
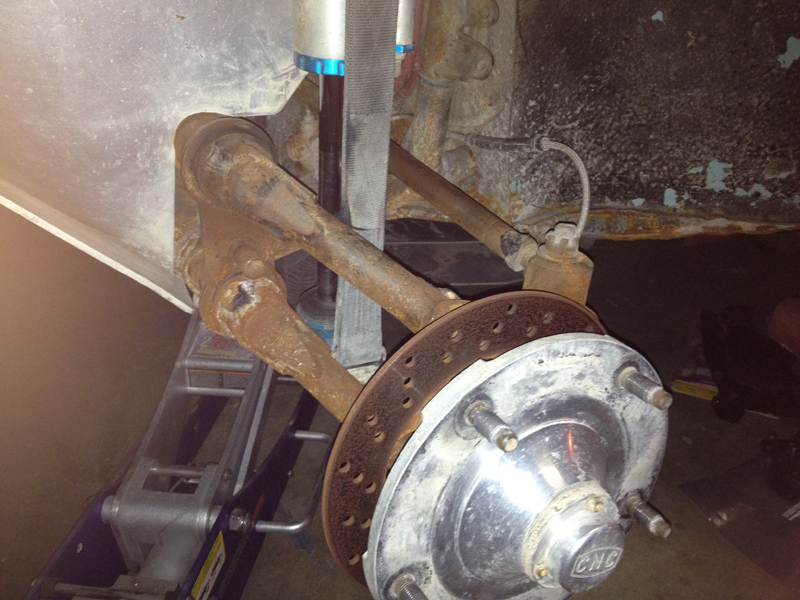
The front suspension ready to disassemble
The trailing arms were new at the beginning of the race.....
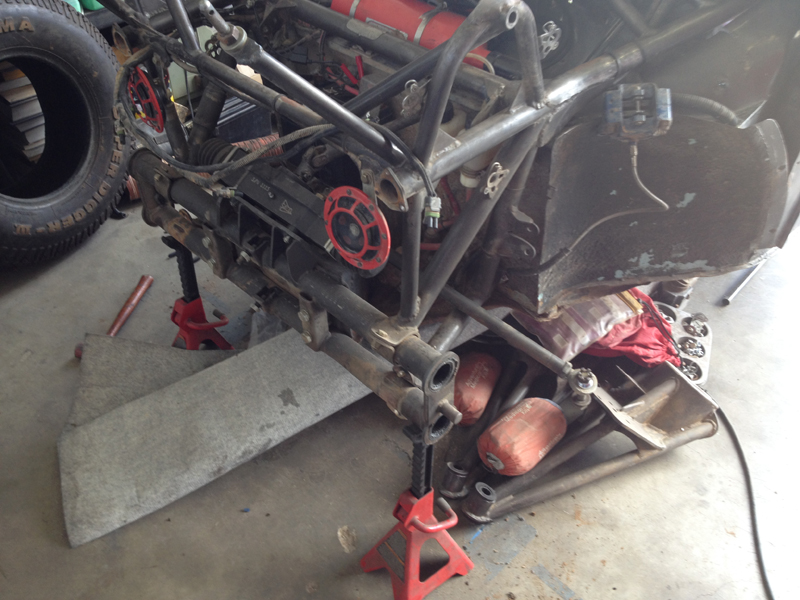
Front Suspension disassembled
With all the front suspension components removed, we can now have a
close look at the "beam" and the roll cage
support structure. We're looking for dents in the bottom of the lower beam
tube, failed torsion adjusters, condition
of the trailing arm bushings, cracks in the support structure, failed welds,
etc.. While in this condition, we'll also
remove the steering "rack" to inspect/rebuild it as necessary and we'll
inspect/refurbish the tie rods.
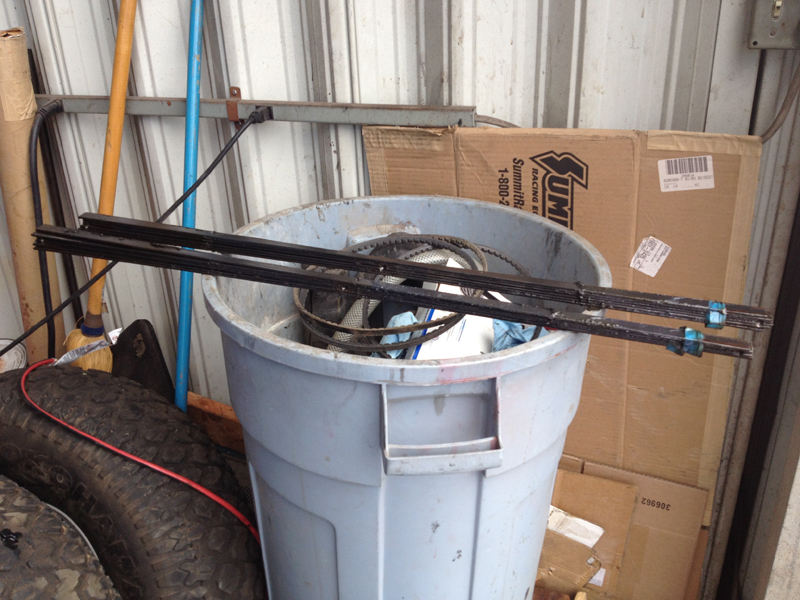
Front Suspension "Torsion Packs"
We replace the front suspension "torsion packs" after every race, they're
that important. The consequences of failed torsion packs
range from mild (loss of some front end ride height) to severe (loss of one or
both front wheels). The torsion packs serve two purposes:
1)
they provide the "spring action" for the front suspension: 2) they
hold the front trailing arms (and
hence the front wheels) on the car.
The torsion packs consist of a stack of steel "leaves"; the number of leaves
used in a pack is selected by the racer to suit expected course
conditions and changes the general "spring action" of the front end.
The center points are held by the torsion adjusters and don't rotate;
the outer ends are secured inside the trailing arms and rotate more than 90
degrees from full "droop" to full "compression" - they
don't
last long as a result. These particular packs have seen only one race and still look
good but our next race will be the 2014
SCORE
Baja 1000 and we're not going to pinch pennies on this important component; we already have a new set
on hand to install. This set will
become our "spare" set in
the chase truck; they just happen to be
sitting atop our trash can, they're too greasy to set anywhere else!
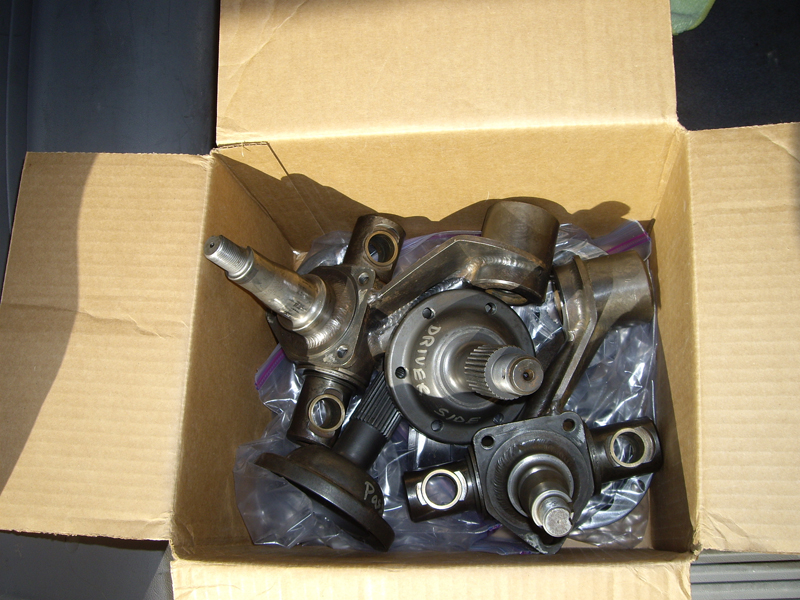
Front spindles and rear stub axles ready for inspection
We send all this stuff out to be "Magnaflux" inspected for defects.
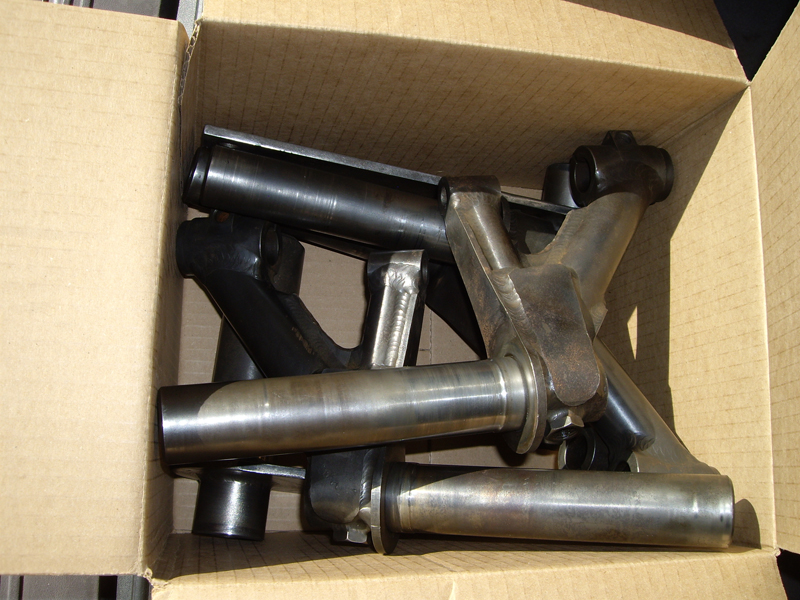
Front trailing arms and rear spring plates ready for
inspection
Once we get it all back from being "Magnafluxed" we repair any
problem areas, refinish the surfaces
and reinstall.
Overview and Checklist
Post Race Disassembly
Post Race Inspection
Repairs and Preventative Maintenance
CV Polishing and Prep.
Suspension Tuning
|
|
|