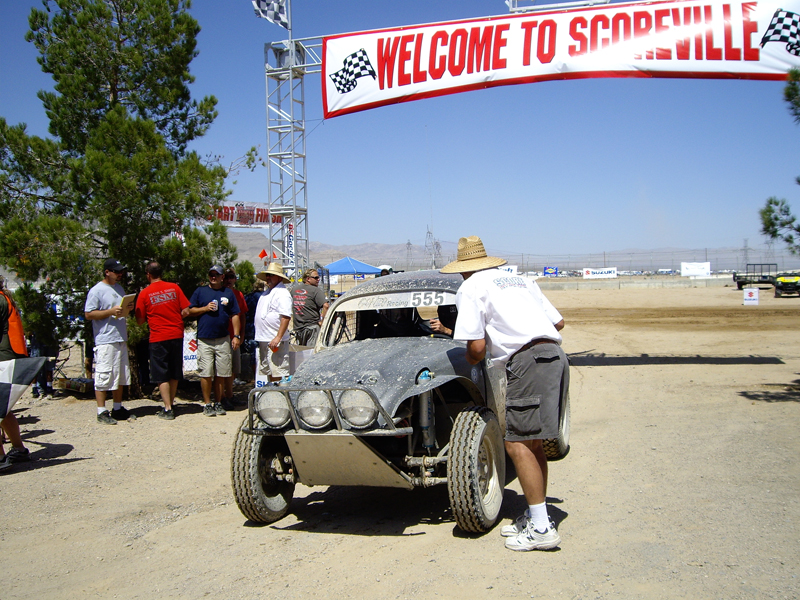
Race Prep. and Repairs
Overview and Checklist
Post Race Disassembly
Post Race Inspection
Repairs and Preventative Maintenance
CV Polishing and Prep.
Suspension Tuning
![]()
Post Race Inspections
After every race, we carefully examine
the car to look for damage. Some things jump
right out and we don't have to look very hard to see them; others are very
difficult to
detect and force us to look very closely. Here are a few examples of both
kinds:

Transaxle torn loose from mount tab -
easy to spot.
Mount tab failed - easy to spot.

Mangled Bumper - no problem finding that!
Bent front suspension beam - our first
clue was that we couldn't turn right.....

Bent Rear Trailing Arm. This one
was a little harder to find. We knew the car wasn't
sitting quite right, but finding the source of the problem took a little effort.
It doesn't
look like much, but it had a big impact on our suspension geometry.
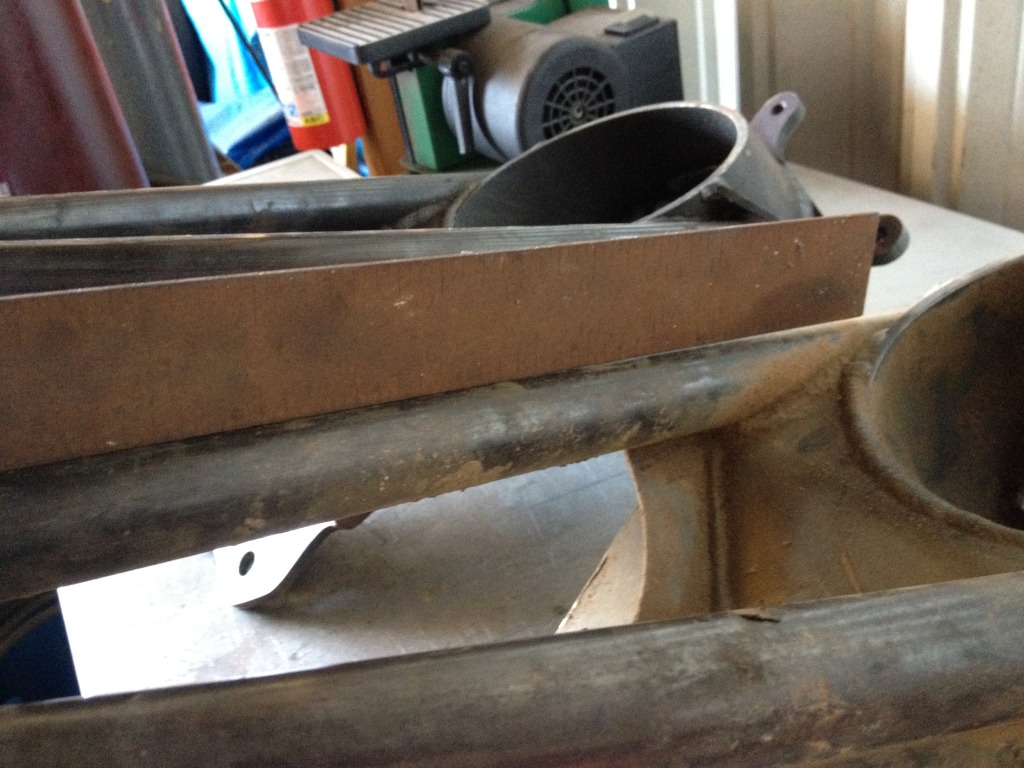
All three of the main tubes were bent,
causing significant "toe" and "camber" problems.
Rather than attempting a repair, we replaced both trailing arms (they would
never have
been as strong again).

That was pretty easy to spot, the result
of a failed battery mount at the 2010 Baja 1000
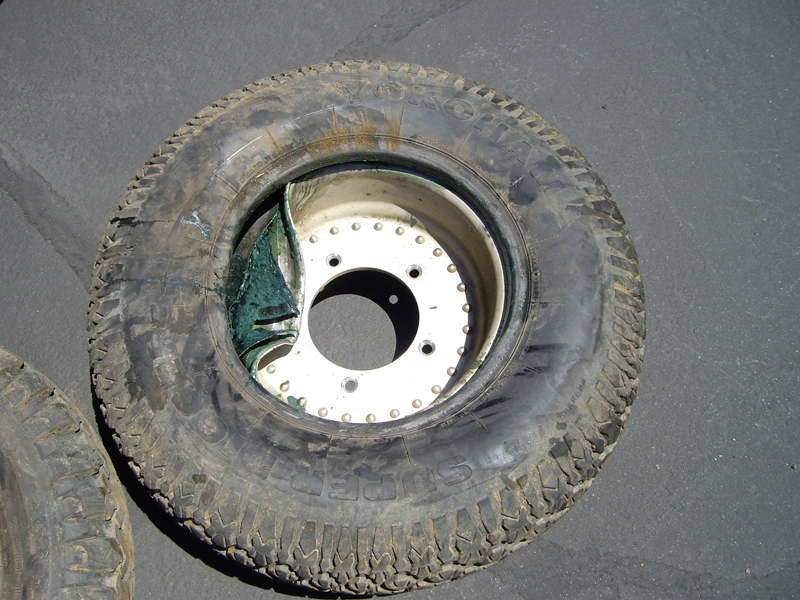
This is what happens to a Centerline
wheel when you hit an immovable object at 50 mph
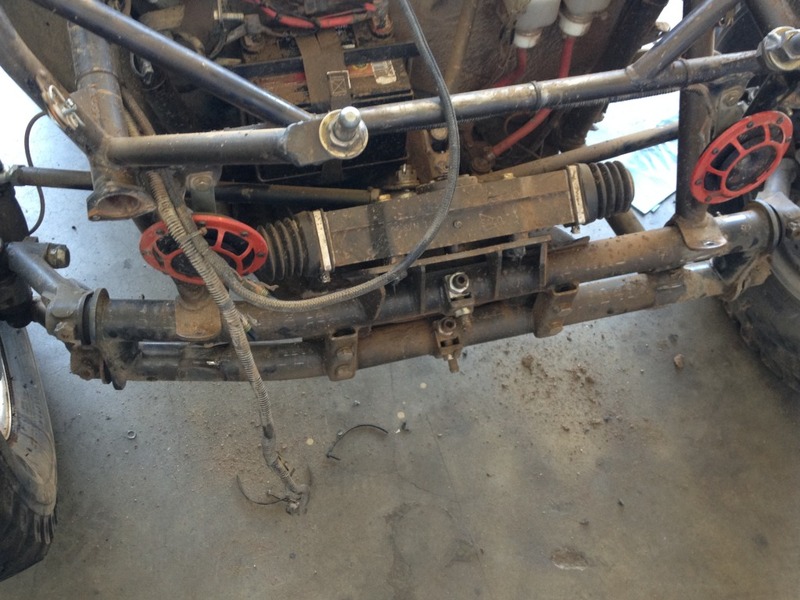
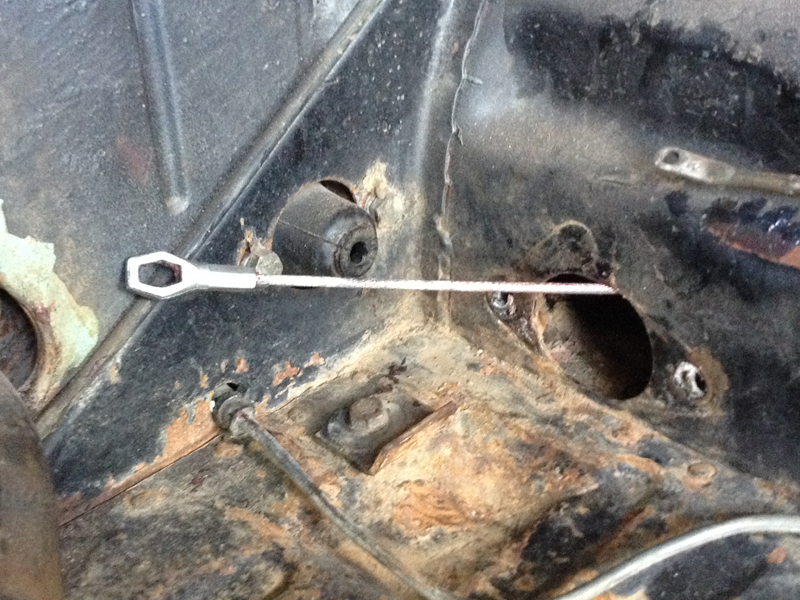
If you look closely, you'll see that the
front suspension is "sagging" (the front trailing arms should
angle down about 30 degrees) - the result of several broken torsion "leaves".
Those leaves not only
provide the spring action for the front suspension, they also hold the front
wheels on the car......
The leaves were broken because our beam
was slightly bent, causing the torsion packs to bind when
being twisted. The upper tube was straight, but the lower tube was bent
back very slightly on the
driver's side. This was only our second race (2008 SCORE Primm 300); the
car seemed to be in great
shape after the 2008 San Felipe 250 so we didn't do a full prep.
(mistake!).......

This was one of those really easy to find
issues...... We knew the car was not handling quite "right"
towards the end of the race (2009 SCORE San Felipe 250)
but we had no idea just how messed up it
was until after the race!
This is
why we had an extensive
overhaul period during the 2009 season. We decided to take the
time to not only repair the damage but to make some basic changes to the car
that should have been
incorporated from the beginning (notching the horns to lower the transaxle,
using "mid-mounts" to
secure it rather than the engine studs, reinforcing the horns/torsion housing,
etc.) We haven't had
any problems like this since our re-build.
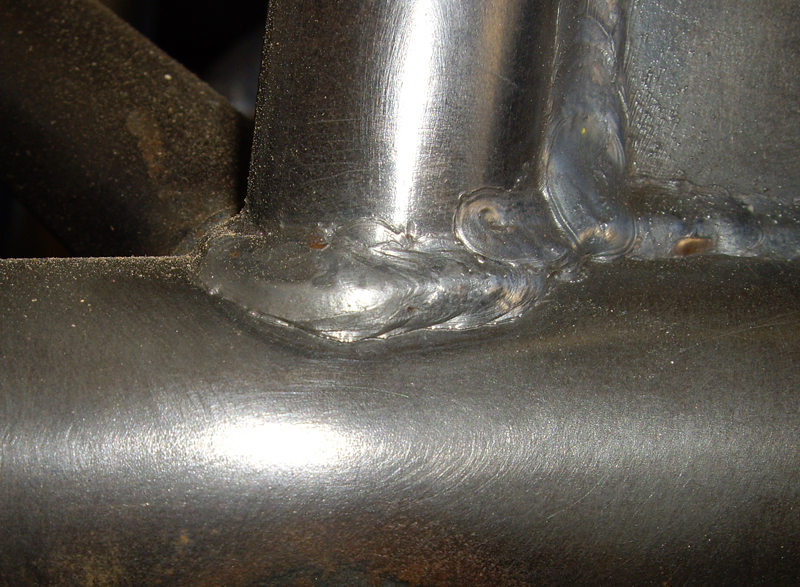
Front shock hoop crack
If you look very closely, you can just see that the lower edge of this weld
is cracked.
It was actually a bit easier to see before we cleaned the joint but it was still
difficult to detect.
This was one of the welds done when the car was originally built and the gusset
was added later.
Shock Bearing Inspection
These spherical bearings are installed in the top and bottom
shock ends. These bearings
are how the shocks are attached to the car; bolts secure the bearings to the
shock support
structures. We check these bearings during every race prep., looking for
several different
types of problems/failures. The most common failure mode seems to be due
to the dirty
environment they operate in: they just seem to wear out in a couple of
races.....
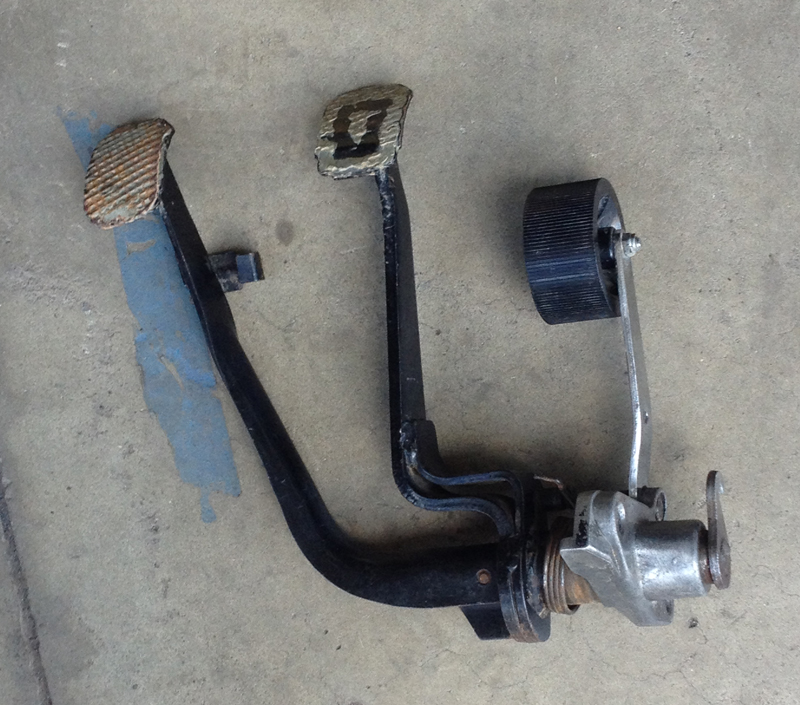
Our stock "Pedal Cluster"
We remove the pedal assembly after every race to inspect for cracks, freedom
of
movement, brake spring condition and the condition of the clutch pedal "hook"
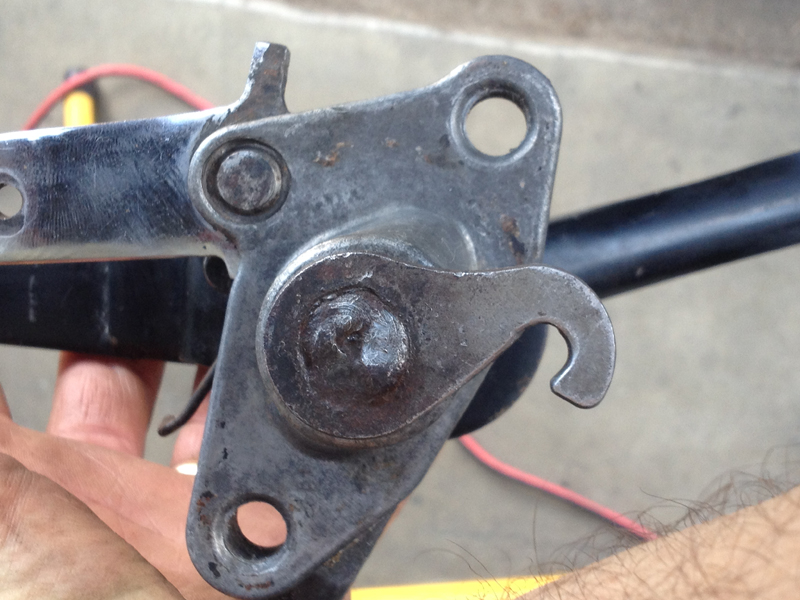
Clutch Pedal "Hook"
This is the hook that pulls on the clutch cable when the clutch pedal is
depressed.
The hook has been known to fail in two ways: the cable wears through the hook,
or
the rosette weld that attaches it to the clutch pedal shaft fails. We
re-weld ours to
insure proper weld penetration but we still inspect it after every race.
Clutch Cable
This cable connects the clutch pedal to the release bearing in the
transaxle. We
inspect the cable end where it engages the "hook" on the pedal cluster for wear
and
proper lubrication and we inspect the cable itself for wear and signs of
fraying.
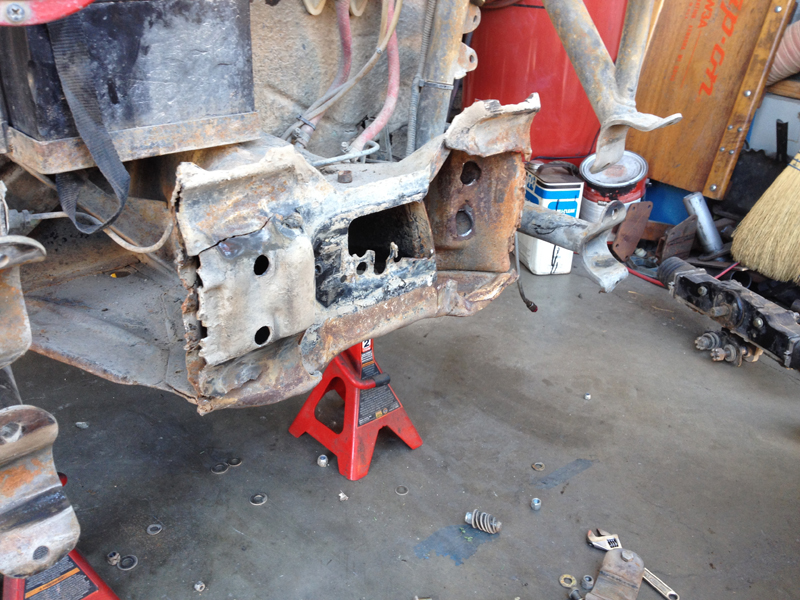
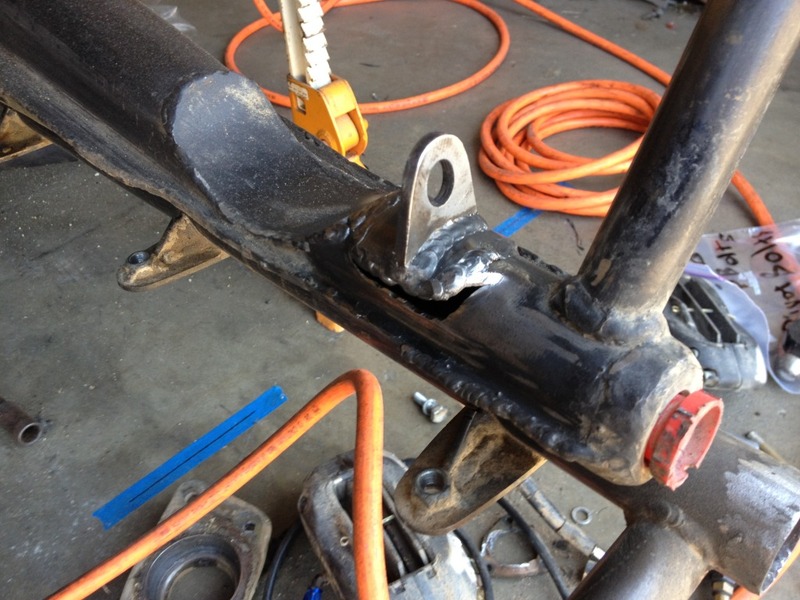
Frame Head after 2014 Baja 1000
The frame head is the primary support structure for the front suspension
beam. The beam
contains the torsion spring packs and the wheels attach to the beam via
"trailing arms".
One of the "torsion adjusters" failed during the race, allowing the trailing
arms to hit the
mechanical up-stops with significant force repeatedly over the last 150 miles of
the race.
The huge loads imposed on the structure as a result nearly tore the entire
assembly off
the car. Another few miles and it would have......
Some "failures in progress" are nearly
impossible to detect until
a total failure
occurs. Examples of those kinds of failure are:
Torsion Bars develop stress cracks that are
very difficult to detect until a total
failure occurs (they can develop from the inside out).
Axles can fail in the same manner as torsion
bars and are just as difficult to
inspect.
Front Trailing Arms have a failure mode that doesn't
allow us to see the problem
until a total failure has occurred. The design
is such
that the main failure point is
buried inside another welded structure and is not
available for
inspection.
High Stress Hardware: All the suspension hardware
(bolts) see very high, cyclical
loads that can lead to fatigue and failure. Testing these parts doesn't
make
sense to us, we simply replace all the hardware after every race (we also
replace
the locknuts; they lose some of their locking properties after a single use).
Overview and Checklist
Post Race Disassembly
Post Race Inspection
Repairs and Preventative Maintenance
CV Polishing and Prep.
Suspension Tuning
|
|
|
|