2012 Baja
500 Roll Over Repairs
The Damage
The Repairs Begin
Damaged Roof Removal 1
Damaged Roof Removal 2
Engine/Transaxle Mount Repairs
Installing the New Roof
Repairing the Bumpers
On the Wheels Again
Body Work and Paint
![]()
Installing the new roof!
We prepped and painted the inside of the new roof; we
thought it would be much easier than
trying to mask and paint around all the cage tubes once installed..... We
will touch up the
interior welded areas when we paint the exterior.
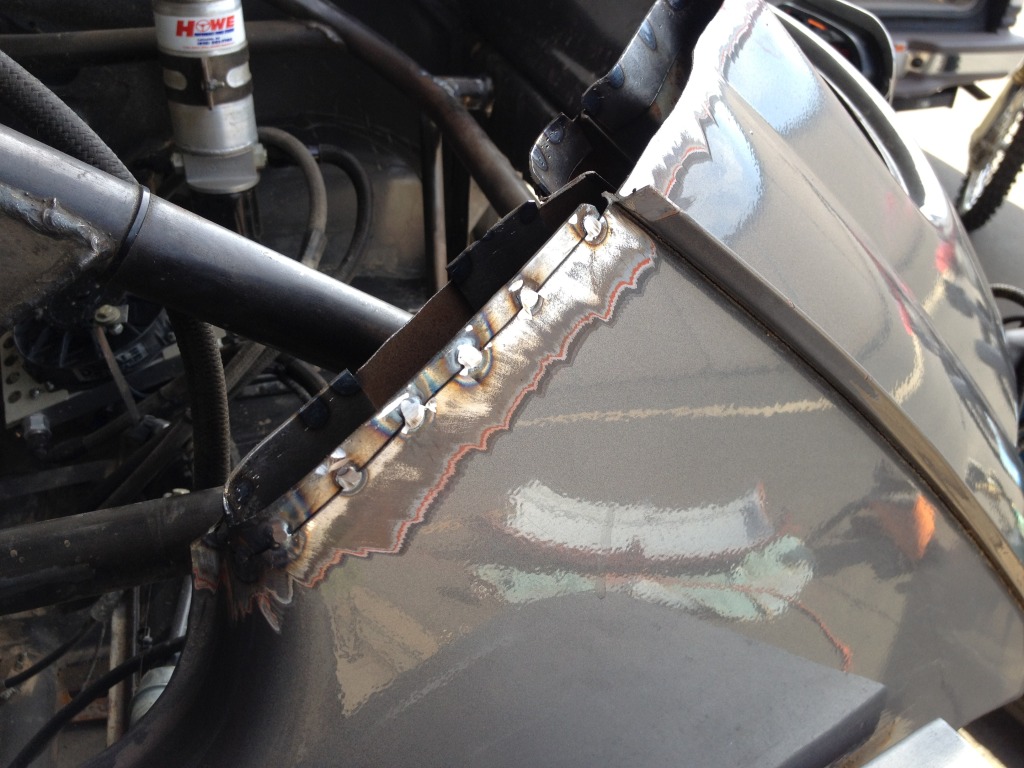
We installed a few "filler plates" to back areas where we
felt the gaps were too large. Trying to
bridge a 3/16" gap with M.I.G. tacks is not the way to go...... This is
the driver side rear pillar.
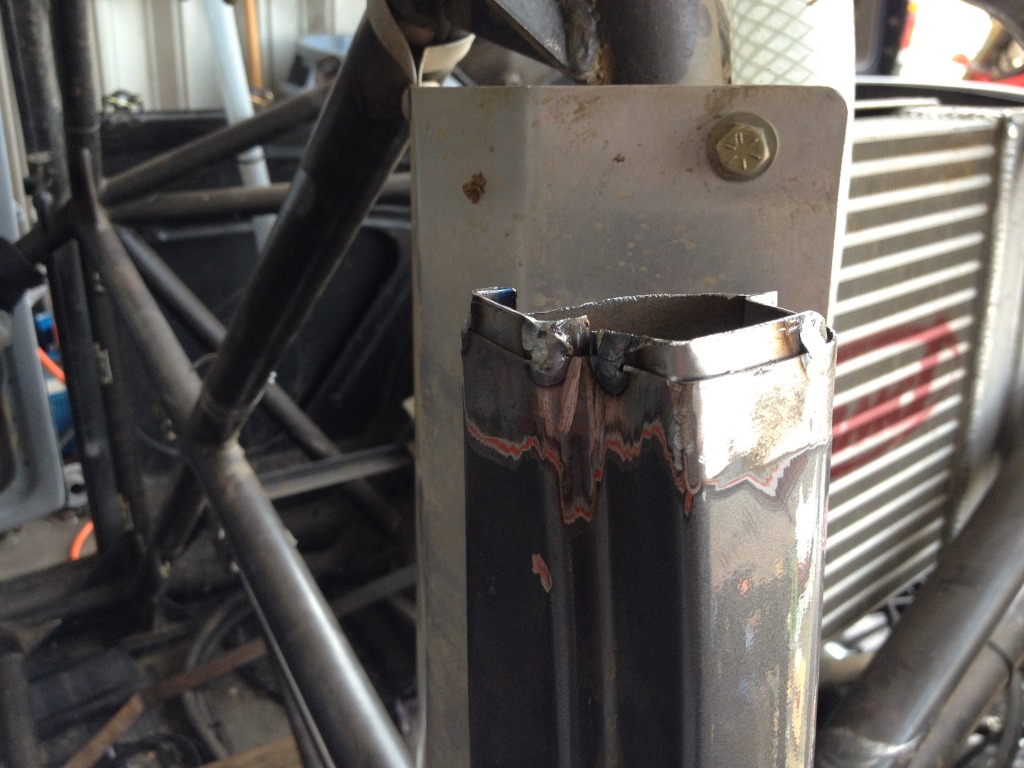
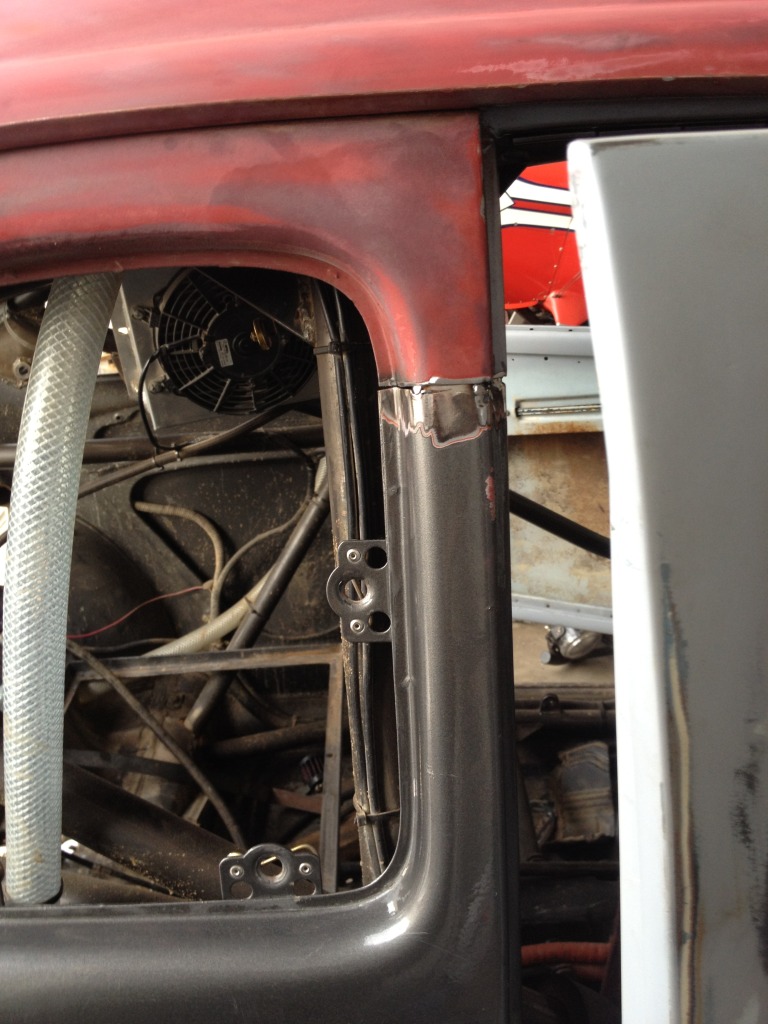
Backing plates in the driver side door pillar. These
plates also help with the alignment of the
new roof while we tack it in place.
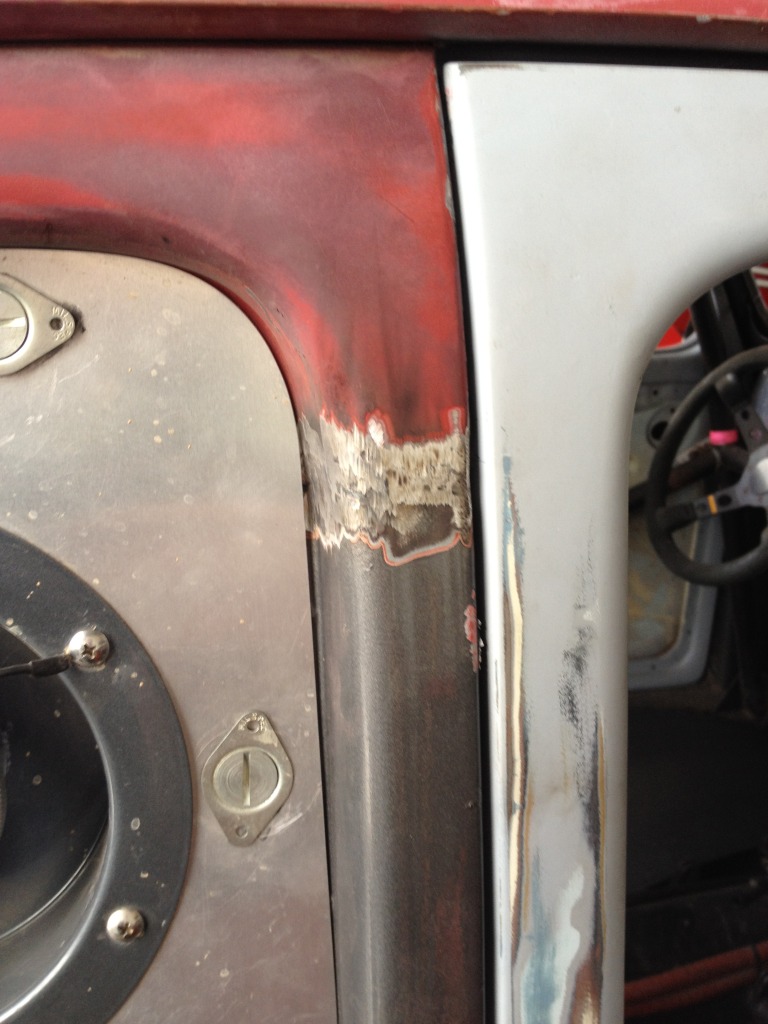
Co-driver side rear pillar with backing plate showing after
the roof is set in place but before welding.
You can see that the fit is pretty good, but the gap would have been too big on
the right side without
the backing plate.
Co-driver side door pillar tacked in position. We
didn't have to "wrestle" things into
alignment very much, we were surprised the car was fairly straight after our
rollover.
Co-driver side rear pillar tacked in place.
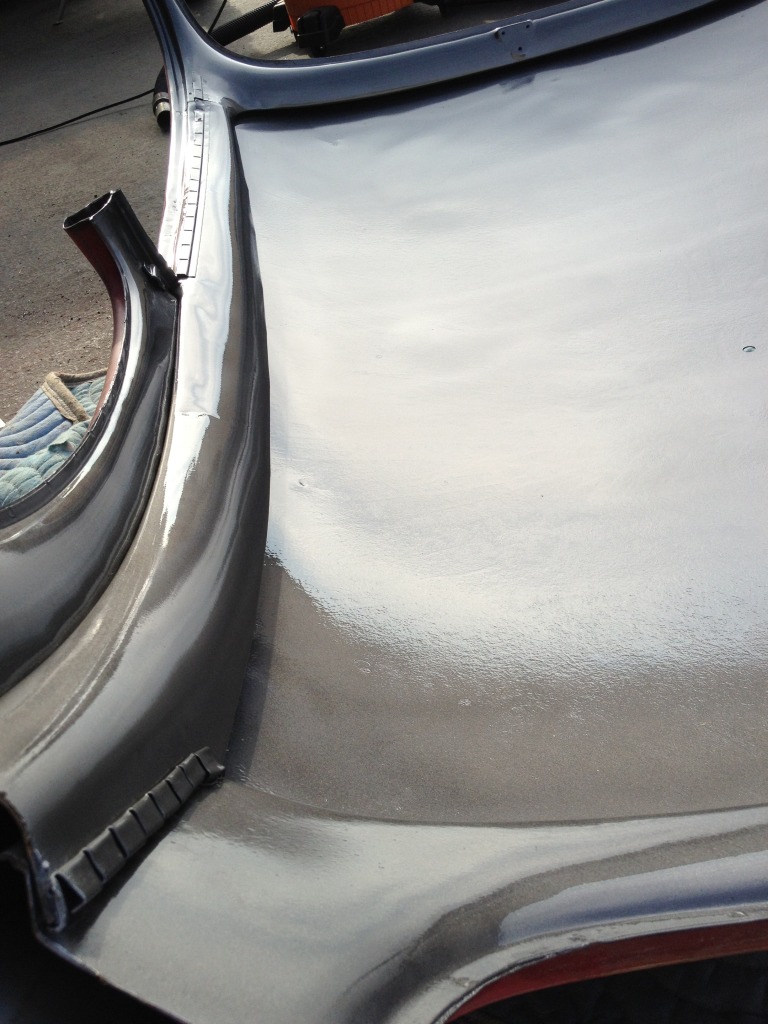
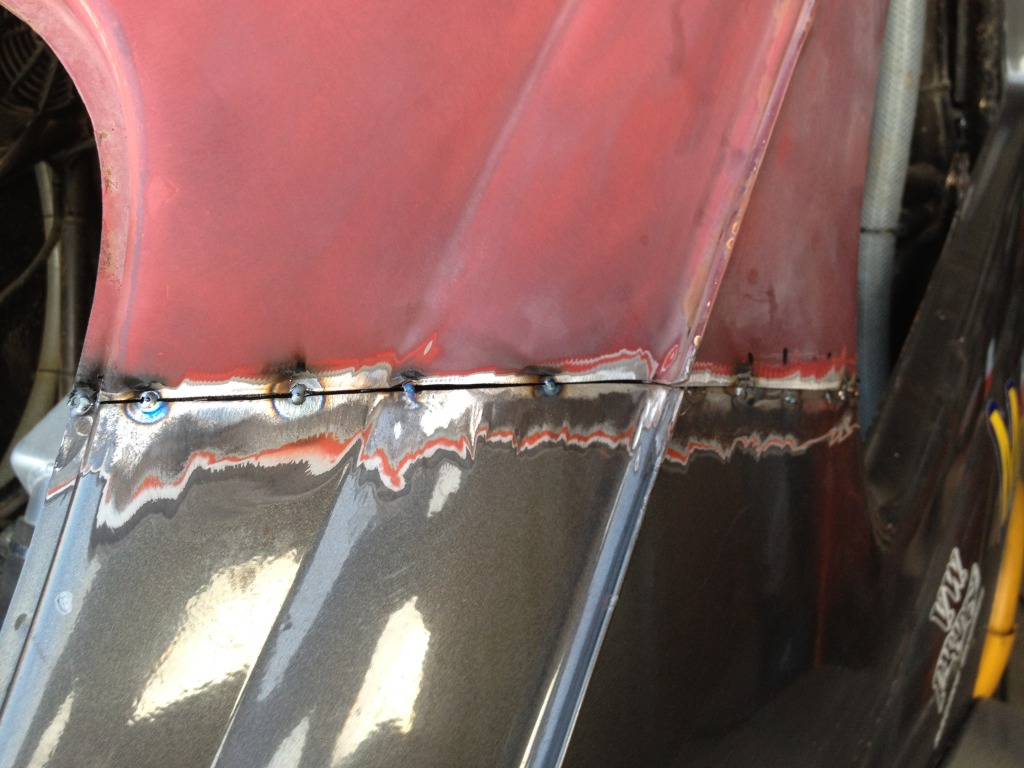
Co-driver side rear pillar fully welded and then ground
smooth. We will obviously have to
do a little filling and smoothing before we paint.
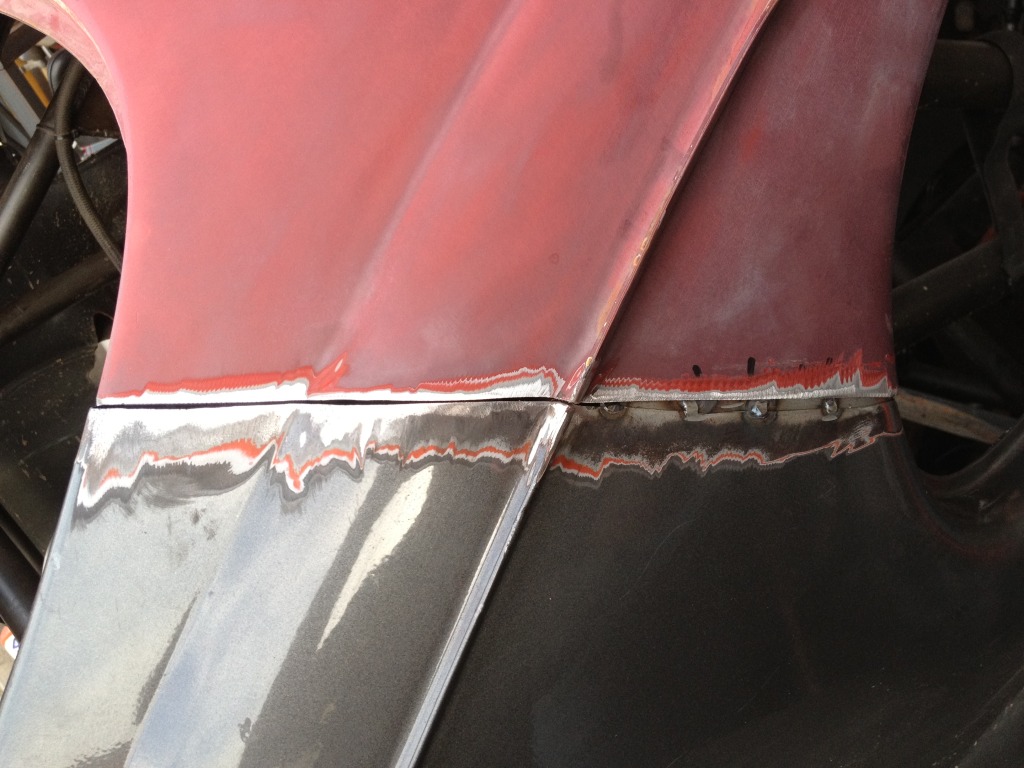
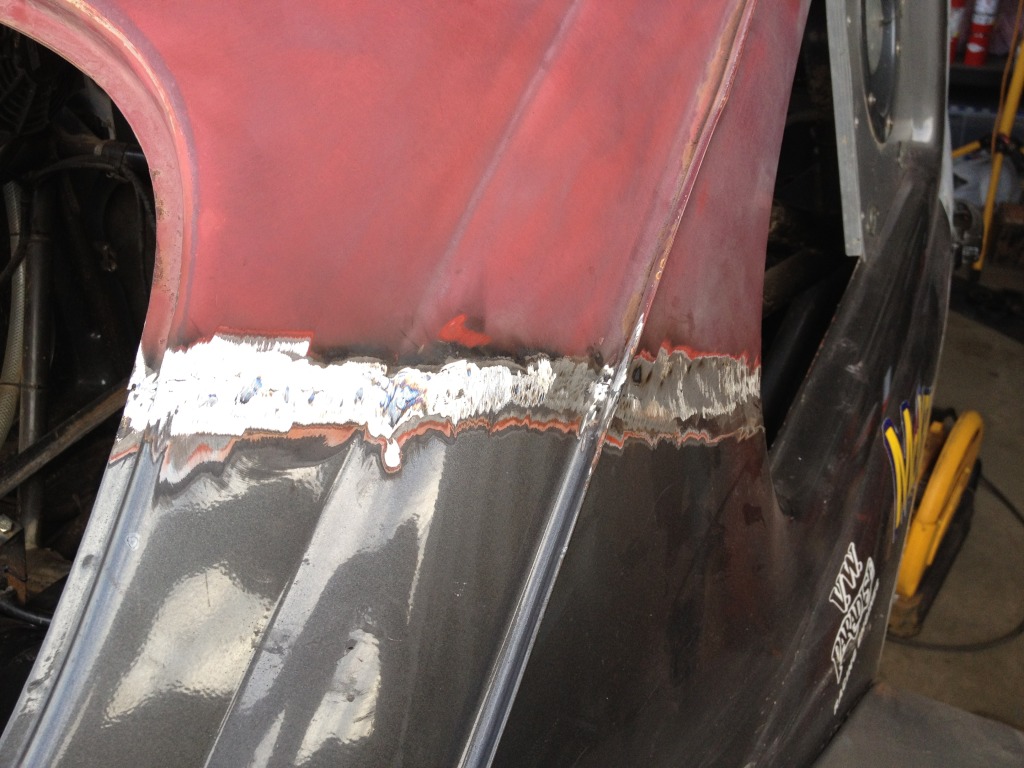
Co-driver side door pillar after being welded and ground
smooth. The
fuel filler plate still fit perfectly afterwards!
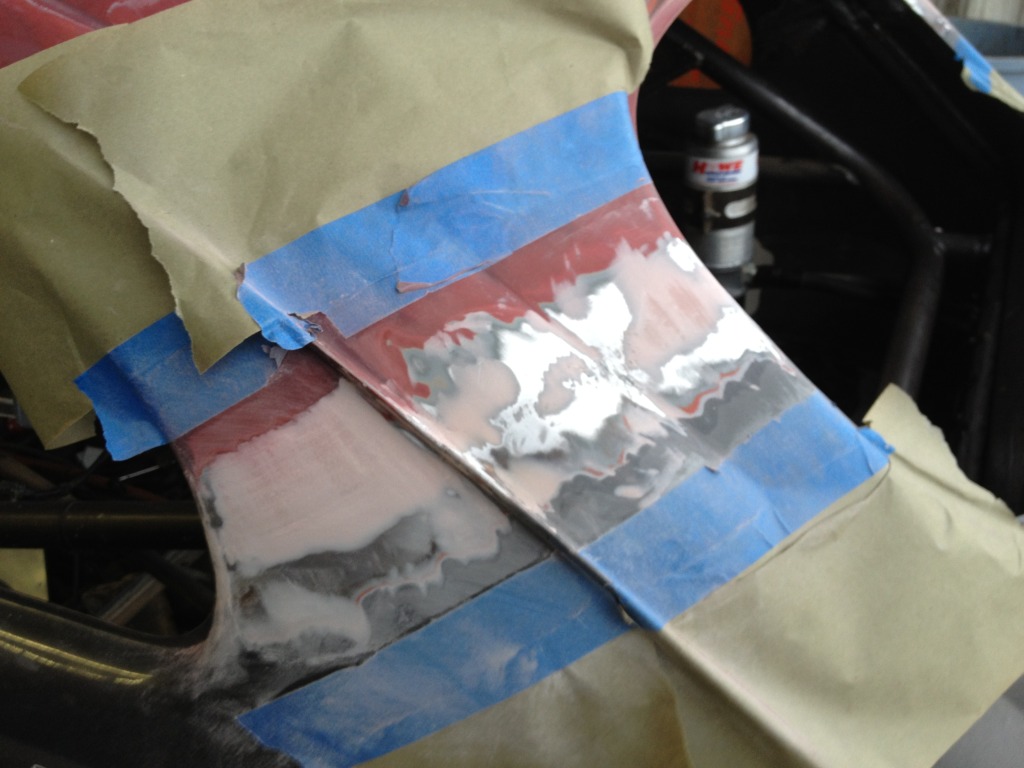
A little body filler to smooth the seams.
The Damage
The Repairs Begin
Damaged Roof Removal 1
Damaged Roof Removal 2
Engine/Transaxle Mount Repairs
Installing the New Roof
Repairing the Bumpers
On the Wheels Again
Body Work and Paint
|
|