|
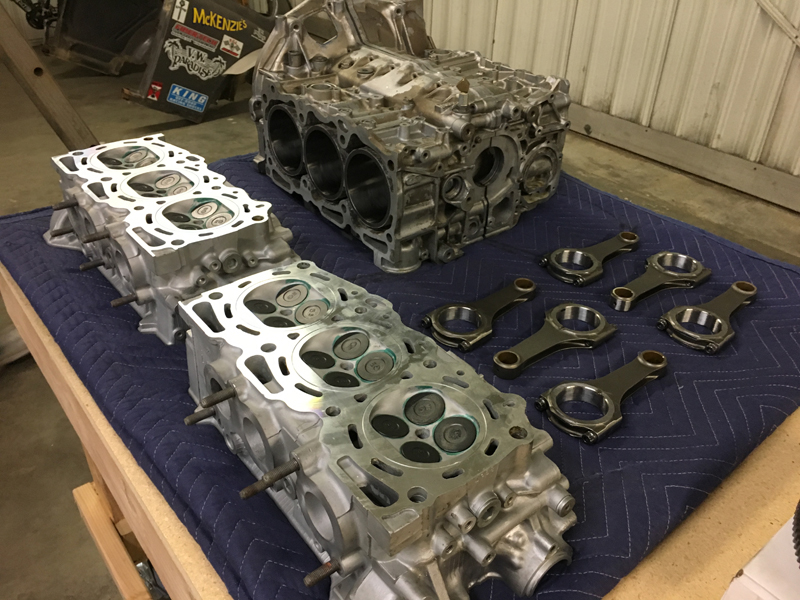
Engine case halves, heads and connecting rods
ready for reassembly
All the machine work required to bring these components "within
spec." has been completed and
they are ready for reassembly once the remaining components are on
hand. Yes, that's one of our old "roll-over" bodies
in the background (we don't throw much away);
Trevor is going to turn it into an artistic shop couch......
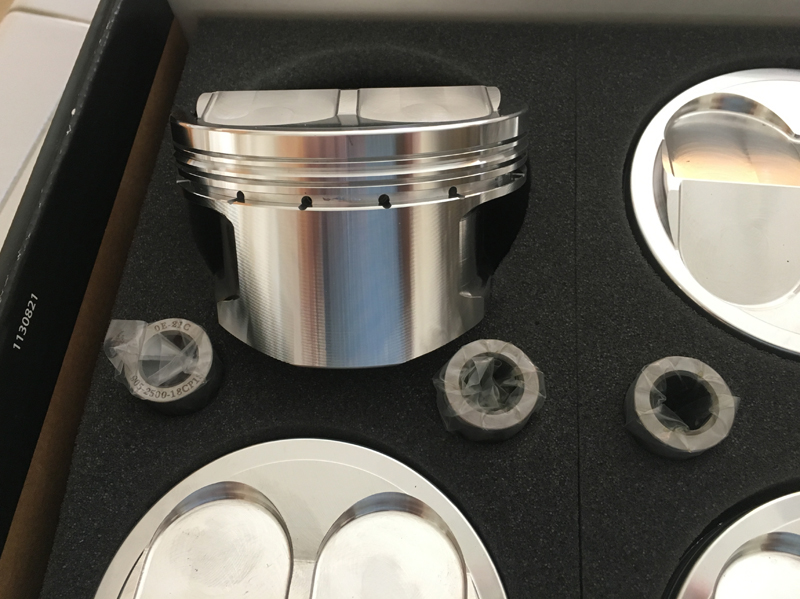
Our new CP Carrillo Pistons
New, to fit our increased bore size and with a different profile
to increase the compression ratio. The wrist pins are a
slightly different size than the originals so we'll need to re-bush
the connecting rods to suit.
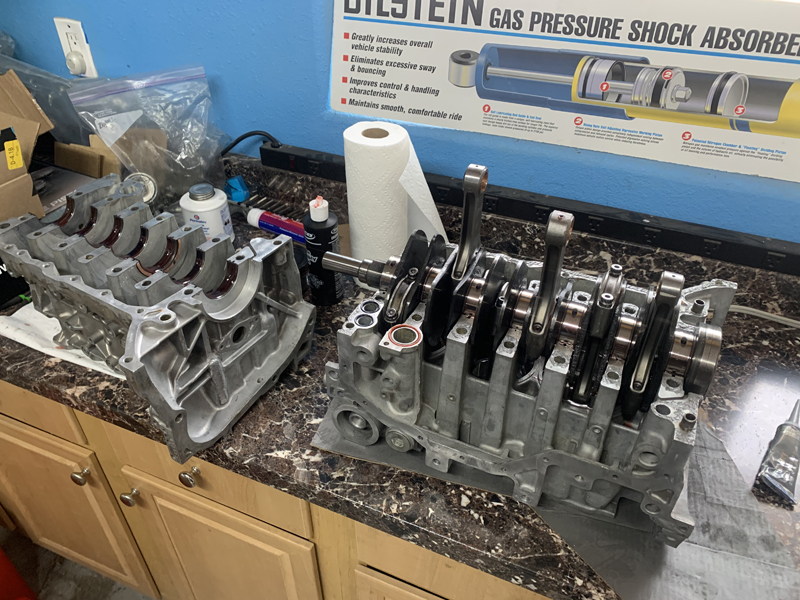
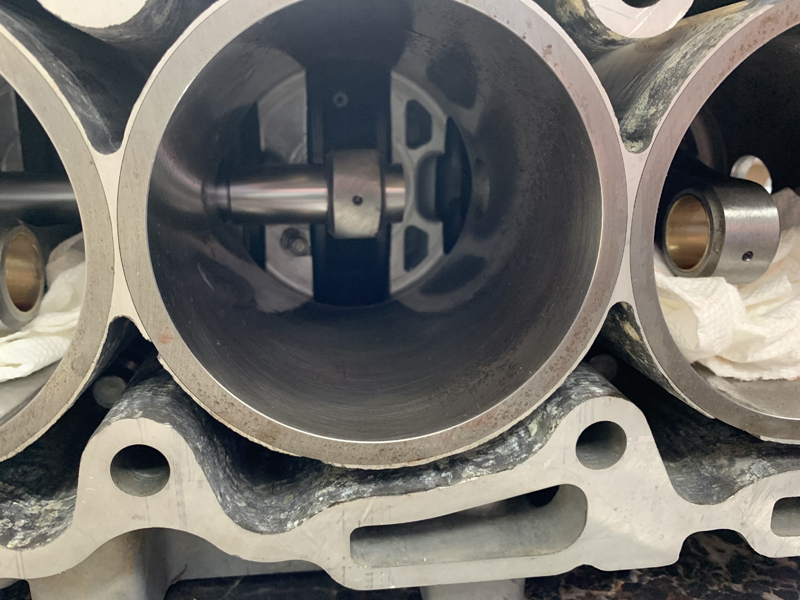
Crankshaft with rods installed, ready to close
Finally, all the pieces are coming together again! The
wrist pin bushings in the rods have been sized, new main and rod
bearings installed, sealant applied, assembly lube liberally spread
around the rotating assembly and ready to "close"!
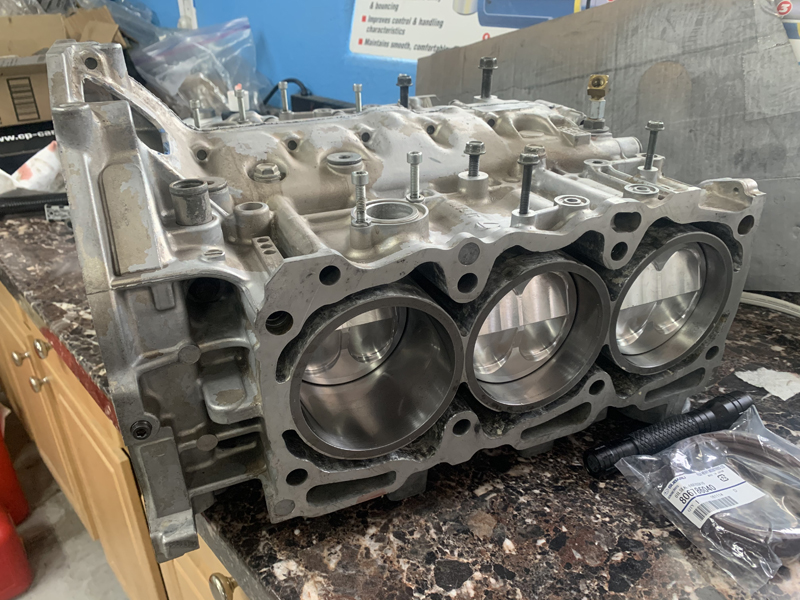
Case halves reassembled with 3 of the 6 pistons
installed
We cheated a bit: we installed the pistons and rods into this
side of the case then secured them to the crankshaft before
installing the other case half. The pistons on the other side
will have to be installed from the "top" of the cylinders and the
wrist pins installed through small access holes provided in the
case... We'll need to fabricate a couple of special tools to
accomplish that part.
Custom tool for installation of the center
cylinder wrist pin
Here, you can see the wrist pin installed on the special tool we
fabricated for the remaining "center cylinder". The piston is
installed after the case halves are assembled, requiring that the
connecting rod and piston be assembled "blind" - through a small
access hole. It's bit of a "fiddly" job but with this
simple tool it only took a few minutes. Installation of the
wrist pin retaining clips was accomplished with a modified pair of
long nose pliers. The two "outside cylinders" require the same
process but they're much easier as they don't require the "long
reach" tools.
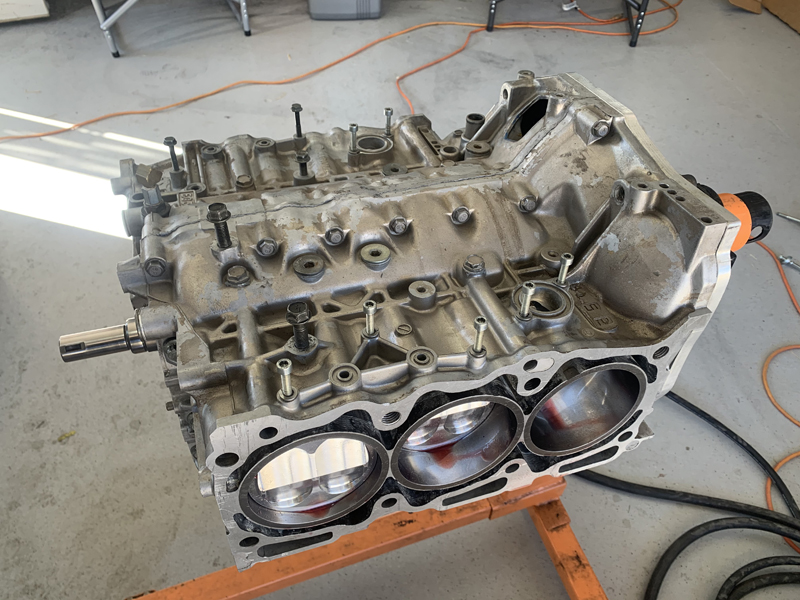
"Short Block" on the engine stand after
installation of the remaining pistons
Ready to continue assembly to a "long Block" configuration.
Before installing the heads, we carefully measured to confirm
piston/head clearance at Top Dead Center - even though the piston
production documents indicated that they should be fine....
The next hurdle is making sure that once the valve train is
installed and timed we don't have valve interference issues.
Again, the piston production documents indicate that it should be
fine but we're not making any assumptions....
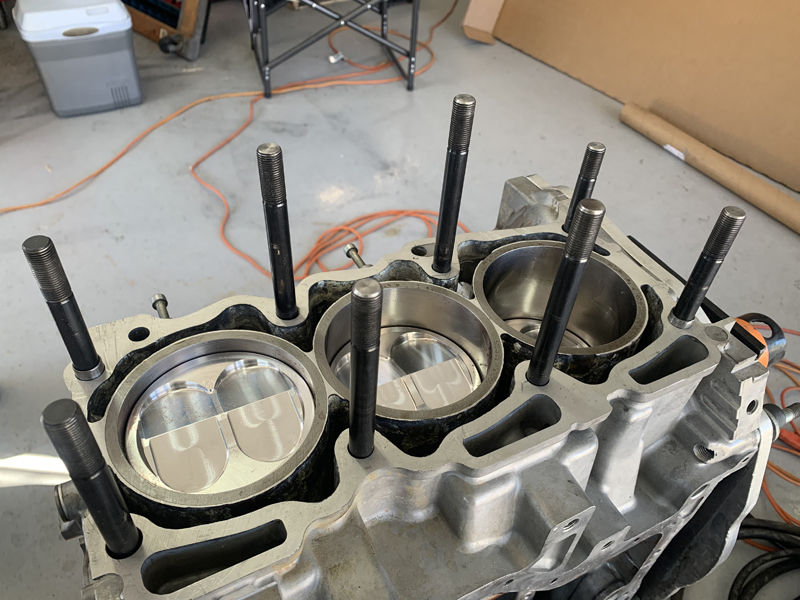
ARP head studs installed
These high strength studs replace the stock Subaru head bolts -
shouldn't have any problems with the heads coming loose...
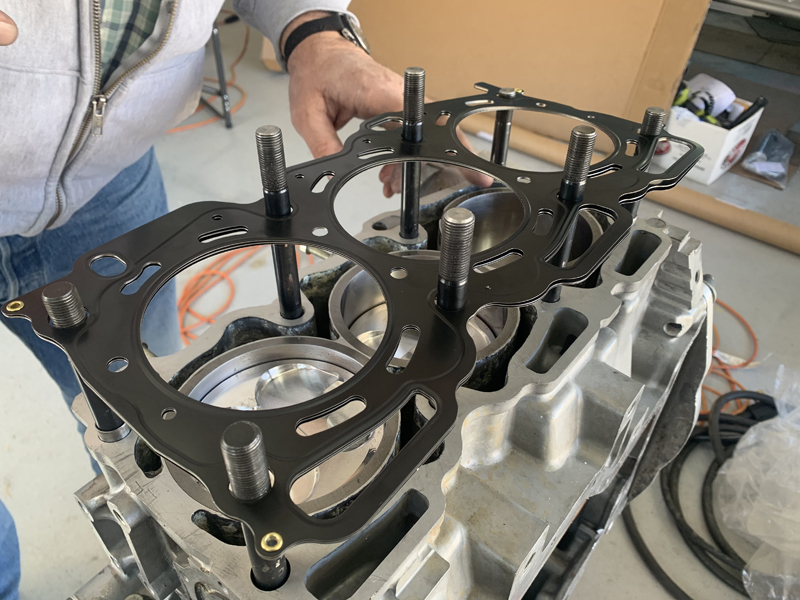
Installing one of the Cometic MLS head gaskets
These multi-layer head gaskets are the preferred choice for high
performance applications
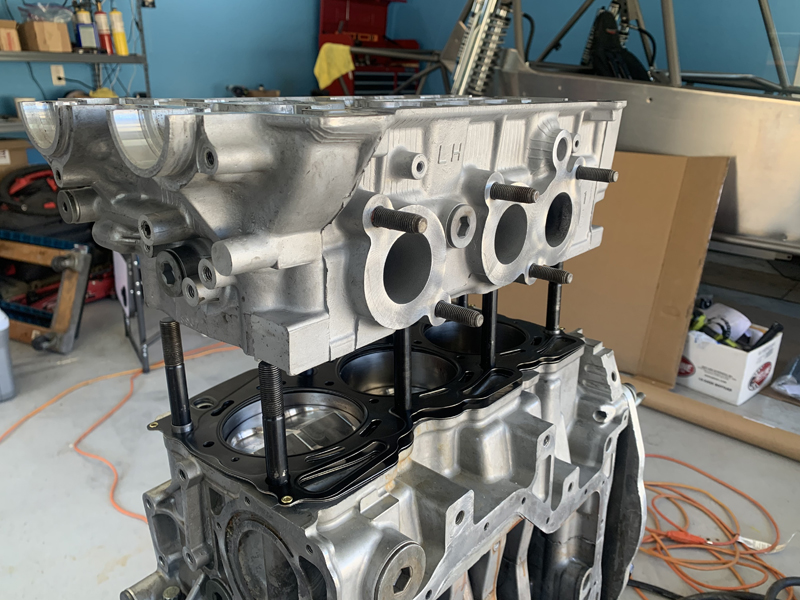
Installing the "1, 3, 5" cylinder head
With the studs and gasket installed, we can slide the head into
place. We were careful to insure that the studs were installed
into the case correctly so that they didn't protrude into the space
the cams will occupy later.

Both heads installed, awaiting final torque
We didn't have enough hardened washers for all the studs so we
stopped at this point. The stud washers are not a size
generally available locally so I had to modify what I could
get locally... Once we install the washers and torque the
studs to specifications, we can start
assembling the valve train, oil pump, water pump, belt drives, etc..
|