|
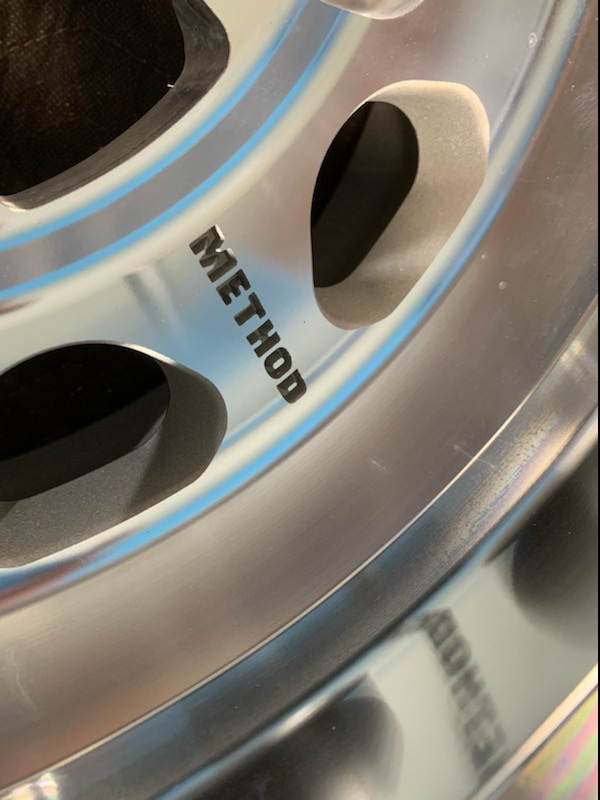
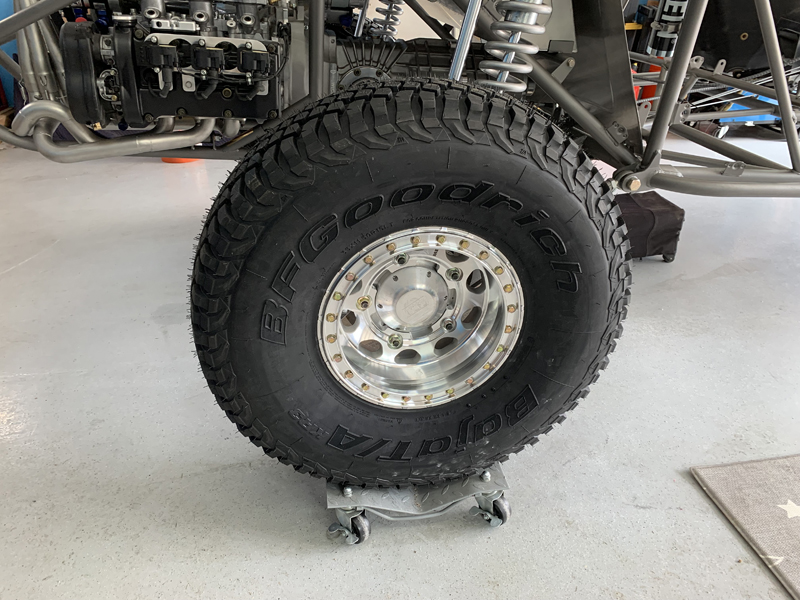
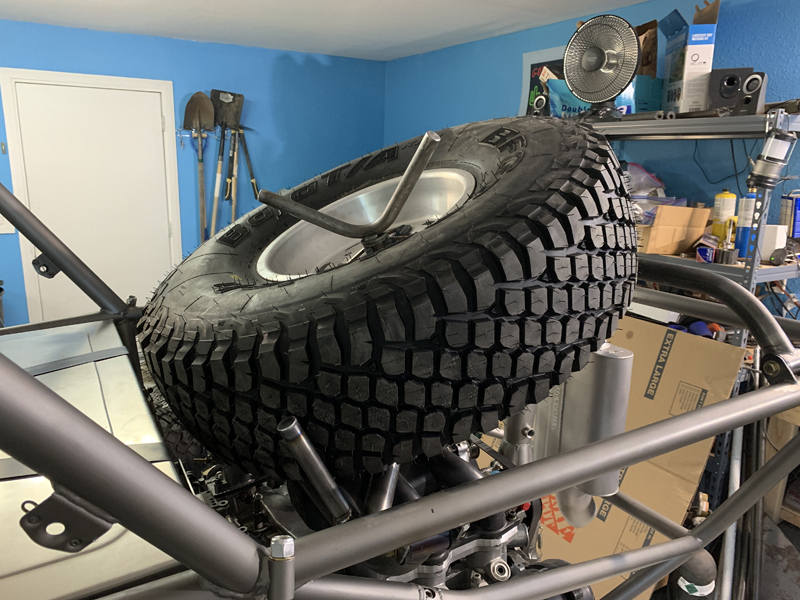
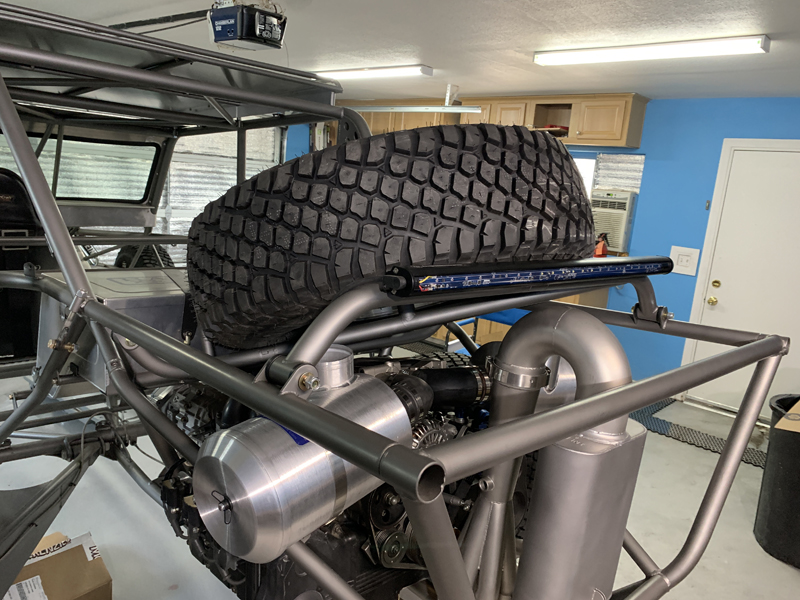
We spent a considerable amount of time researching tires and wheels for this build. There are many brands and sizes of tires and wheels but "Baja proven" tires and wheels are a small subset of those marketed as off-road capable... While this is not a "race car", it's intended to operate in the same challenging environment and we need our tires and wheels to perform and "survive" everything we throw at them. We ultimately chose to go with "Method" wheels, a well regarded brand. As for tires, BFGoodrich Racing has selections that have been "Baja tested" on Trophy Trucks, Class 1's, Class 10's, etc.. We chose to go with BFG KR3's - we expect them to serve us well. Given the power available and intended use of this car, we elected to go with 35" tires.
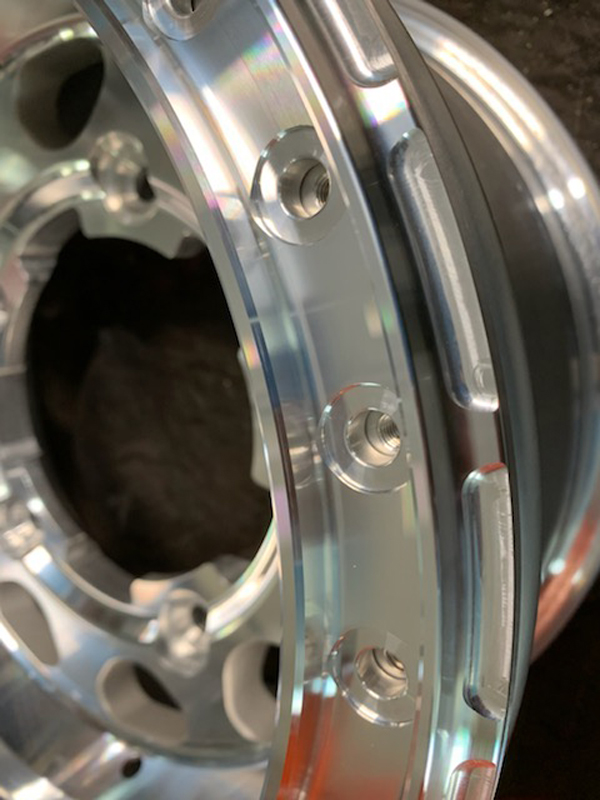
The outer tire "bead" is captured by this ring, allowing us to run the tires at lower pressures for traction/flotation when necessary without worry of "rolling" the tire off the rim. Typically, a bead-lock wheel doesn't capture both tire beads; the "inside" bead is not captured and seats on the rim like normal but the bead on the "outside" is clamped firmly by the ring.
With the bead-lock ring removed, the tire can be easily installed on the wheel by hand. The lock ring is then installed and the 24 bolts torqued to specifications, securing that bead. Inflating the tire then "seats" the other (non bead-lock) bead like a normal tire/wheel.
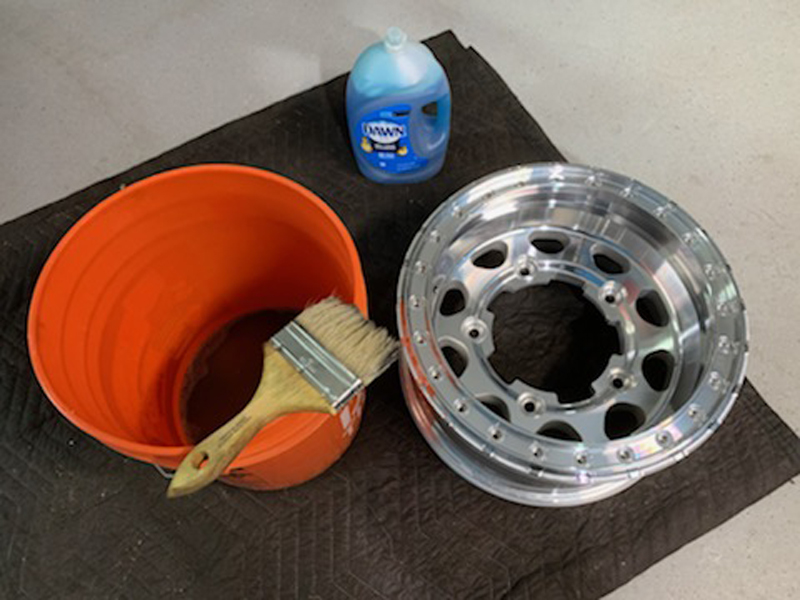
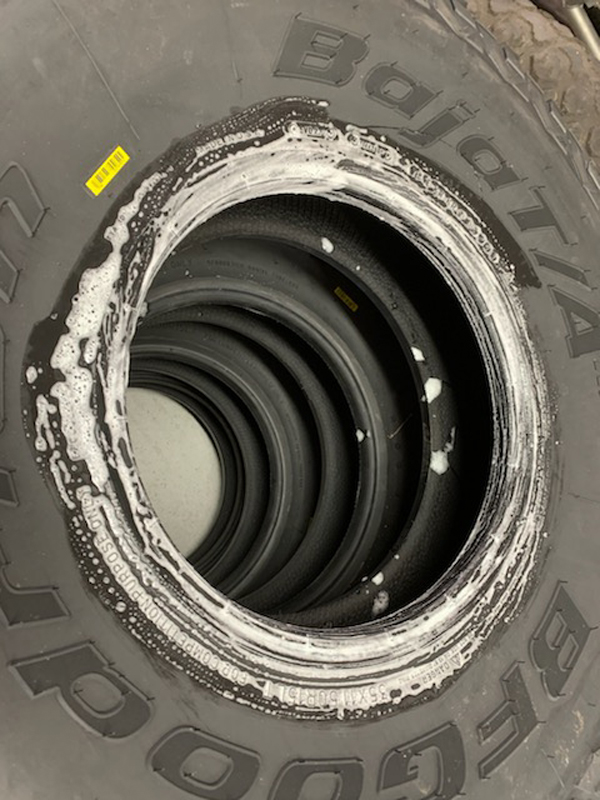
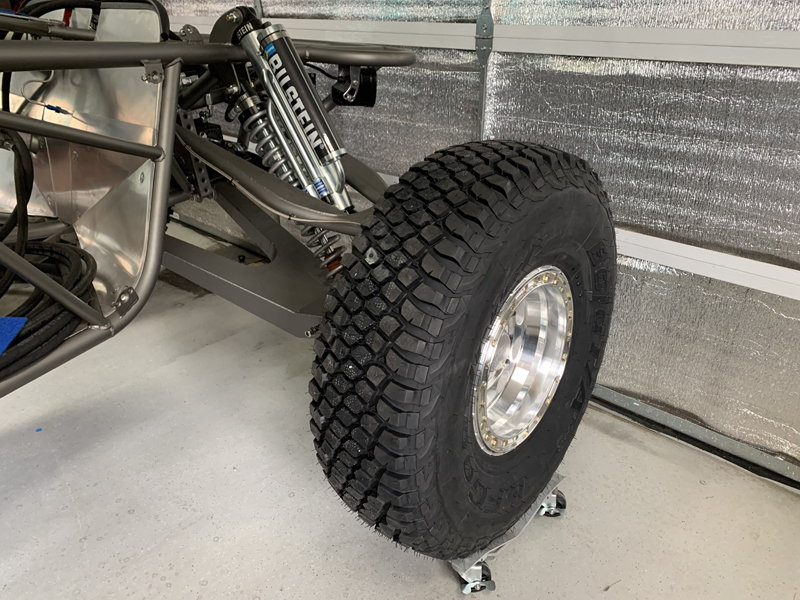
We found that lubricating the tire like this then pushing the wheel into it while the tire lays on the floor to be the easiest way to start the mounting process. Essentially, when you take the lock ring off the wheel, it's the equivalent of removing the entire portion of the wheel that holds the tire's bead on that side. That makes it fairly easy to get the wheel into the tire. Then it's just a matter of bolting the lock ring in place to complete the wheel and secure both of the tire's beads.
There are 24 bolts that secure the bead-lock ring - they need to be tightened evenly and torqued to spec. - that took about 40 minutes per tire. I'm sure someone who does it regularly can better that time but we were trying the be very careful - the tires and wheels represent a significant investment...
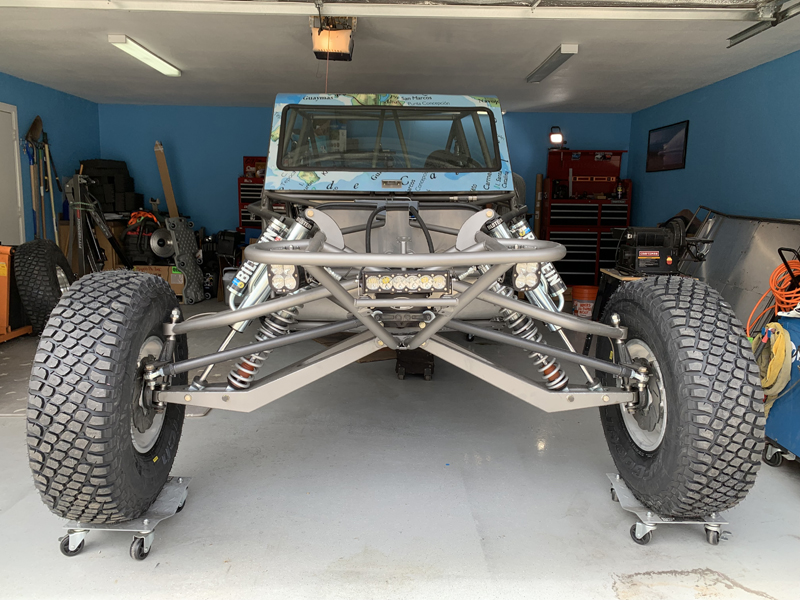
While building the car, we've had temporary tires installed - our 5/1600 car spares. It's good to finally see the correct tire/wheel combination on the car!
|