|
The Chassis has been
neglected in Trevor's garage for a while and has accumulated a
little bit of "surface rust" so it's time to strip, clean and
paint it. We began by removing all the sheet metal,
suspension parts and various bolt-on brackets. That was
followed by a thorough degreasing and rust removal in
preparation for paint. Knowing how quickly bare steel
frames rust in use, we chose to paint the chassis and "Steel It"
paint was used for a number of reasons.
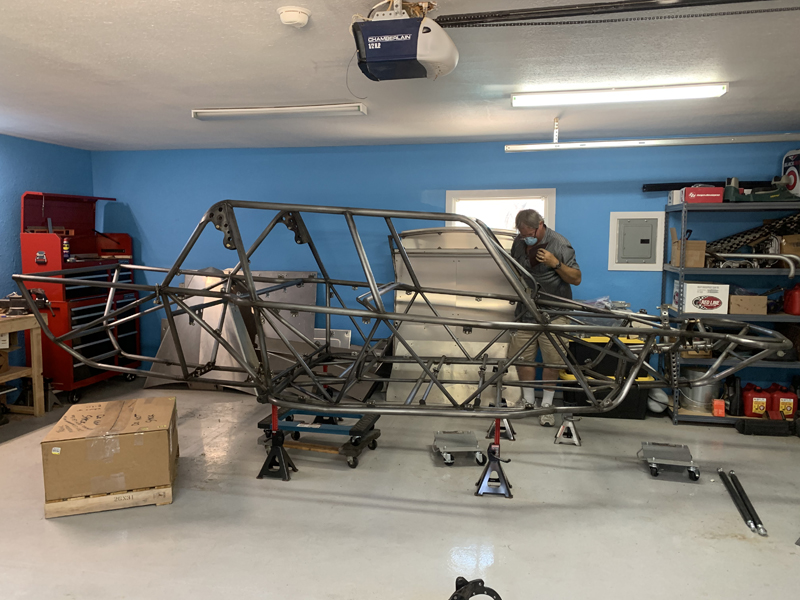
Body Panels and Suspension Arms removed,
cleaning the chassis
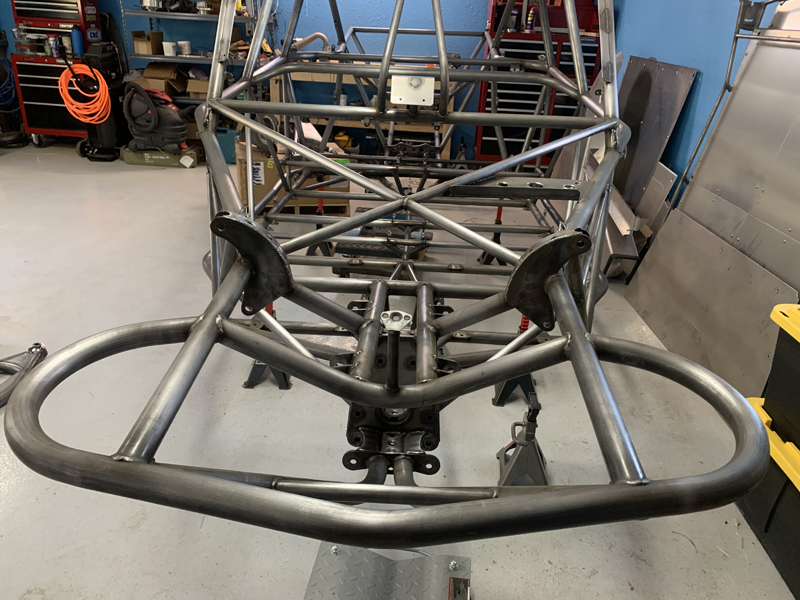
Rust removed, de-greased and ready for
paint
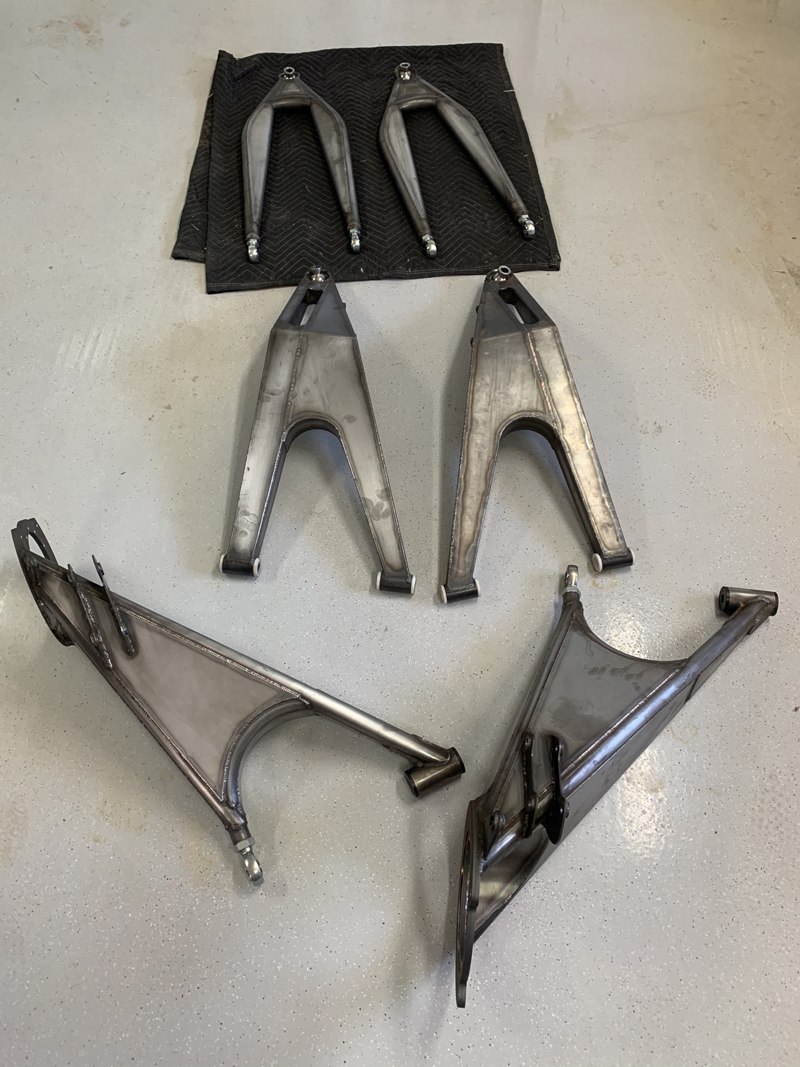
Arms cleaned, de-greased and ready for
paint
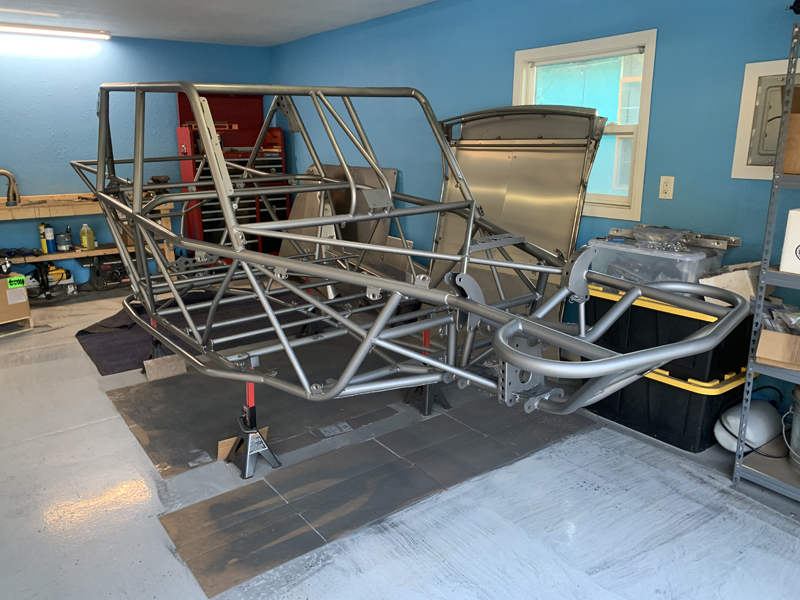
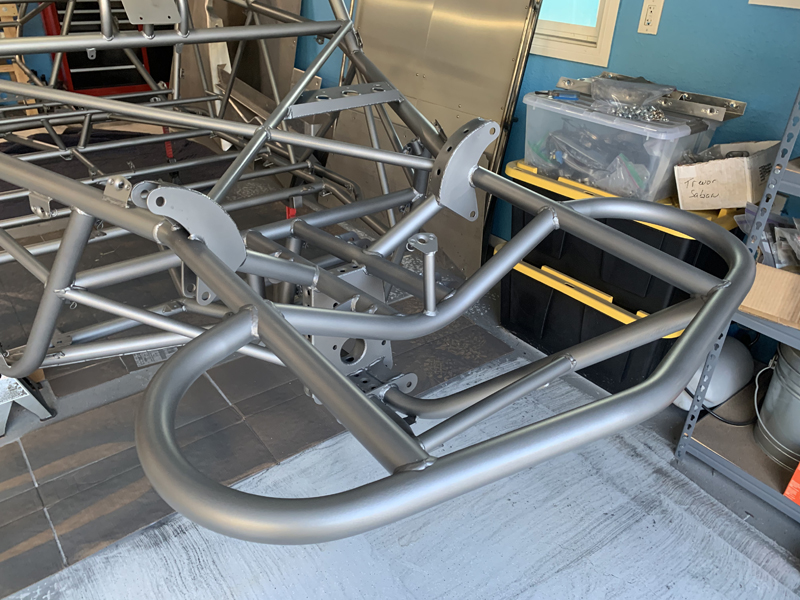
Chassis painted and looking good; ready for
assembly to begin
We know that there will be additional welding to be done for
brackets to come later and that we'll have to remove paint in
some areas to accommodate that. We're okay with that, we
just wanted to protect the chassis as much as possible during
construction.....
We used "Steel It" for a number of reasons
- it's tough, easy to apply, weldable and easy to touch up
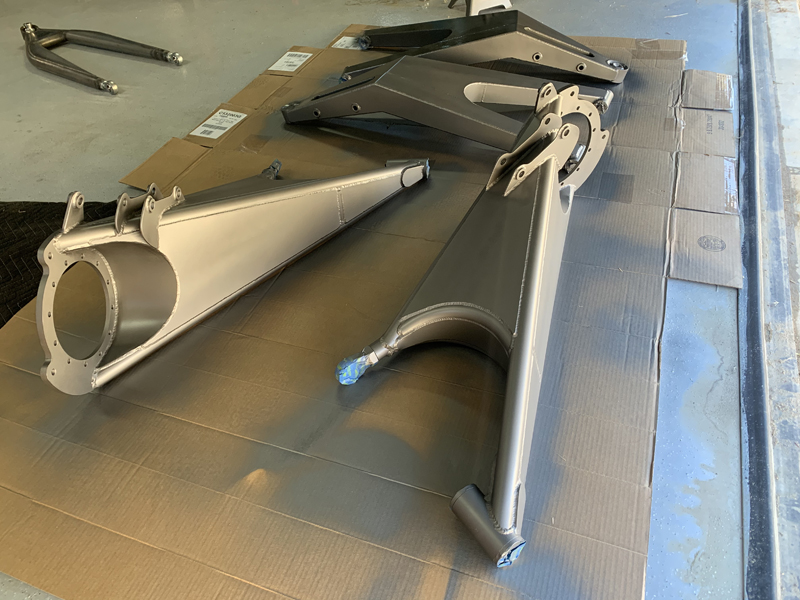
Suspension components painted and ready to
re-install
|