|
We decided to equip our pre-runner with a
normal complement of electronics - a GPS, Race Radio and 4-place
Intercom. We chose a Lowrance HDS7 gen. 3 for our GPS; we
have lots of experience with Lowrance products in our race car
and race maps are easily loaded into memory
so it was a natural choice. The Lowrance unit also
provides a means to view a "back-up" camera that we think may be
useful. It would have been nice to be able to install a
larger screen unit but we didn't have room for anything bigger.
For the radio and intercom, we went with PCI offerings; we've
had very good experiences with PCI equipment in our race car and
expect that to continue here.
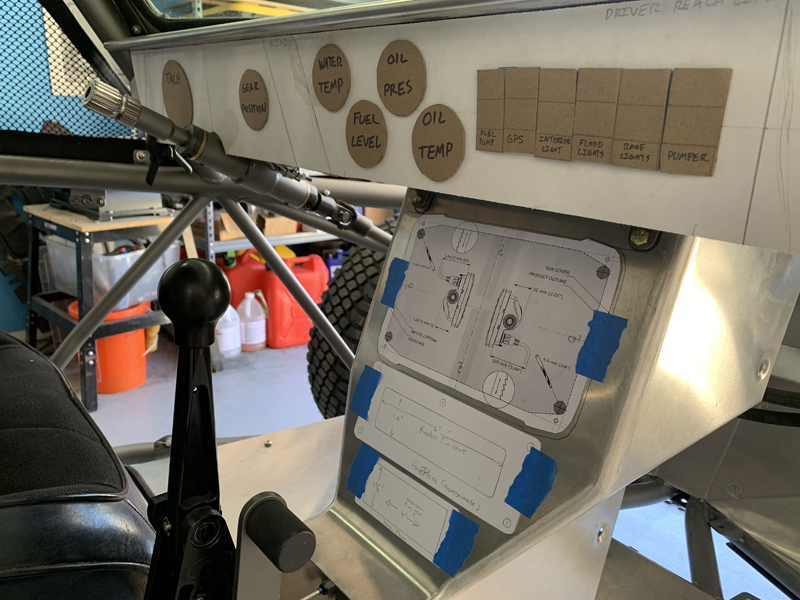
Trevor's dash and center console mockup
Using scale patterns for the individual components, Trevor
worked out a functional and pleasing arrangement. We chose
to go "old school" on the engine instruments but elected to
control all the electrical loads with a "Switch-Pros" switch
unit rather than individual switches and relays. The
choice of GPS also went "old school"; rather than an IPad and "LeadNav",
we elected to use a Lowrance HDS7. We can always bring an
IPad along too but we wanted something "built-in" that didn't
entail paying subscription fees to effectively utilize...
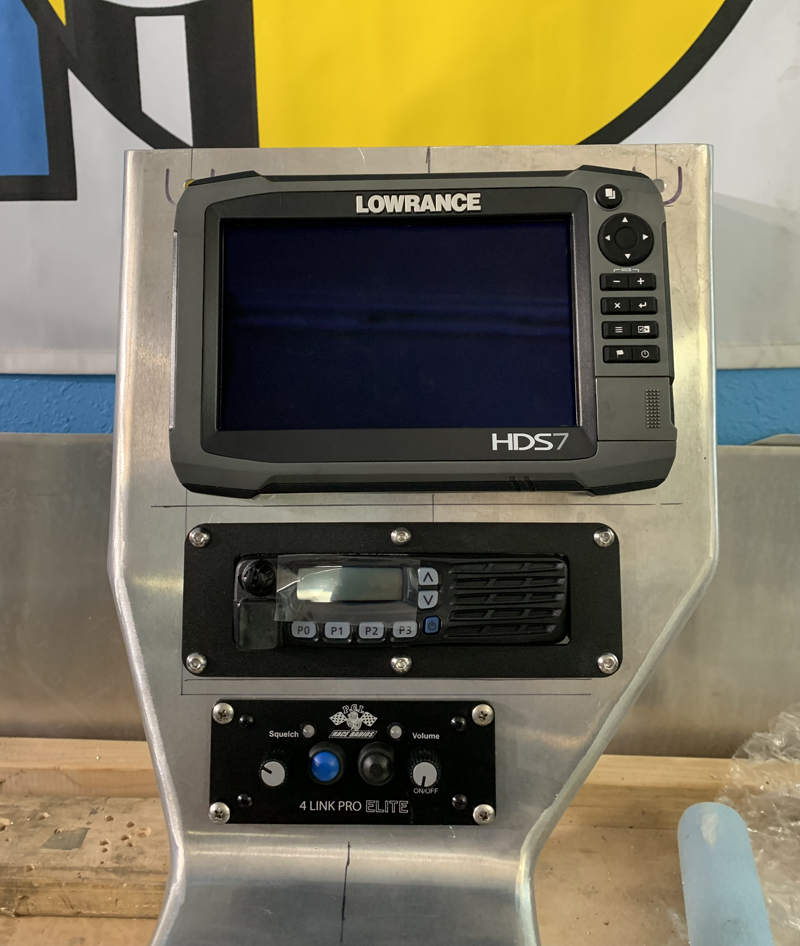
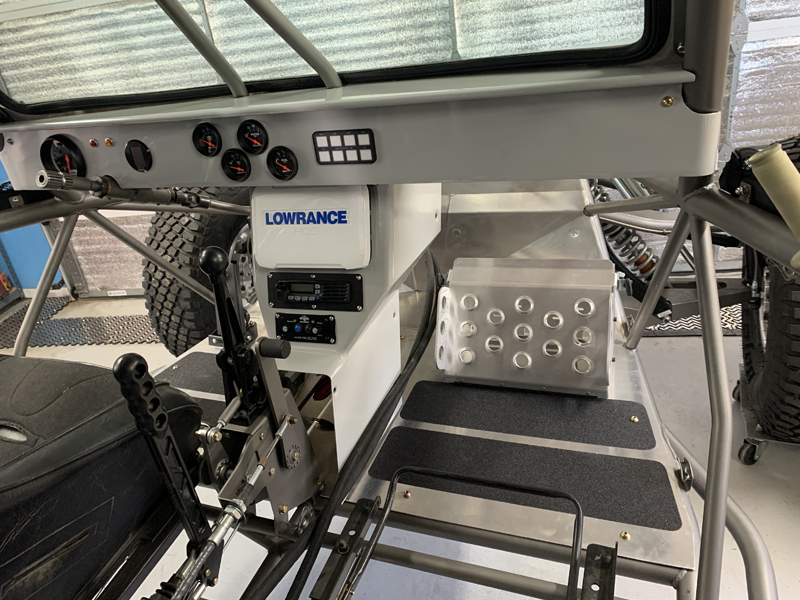
Center console electronics stack
Everything fits nicely in the center console and is within
easy reach for the driver and co-driver.
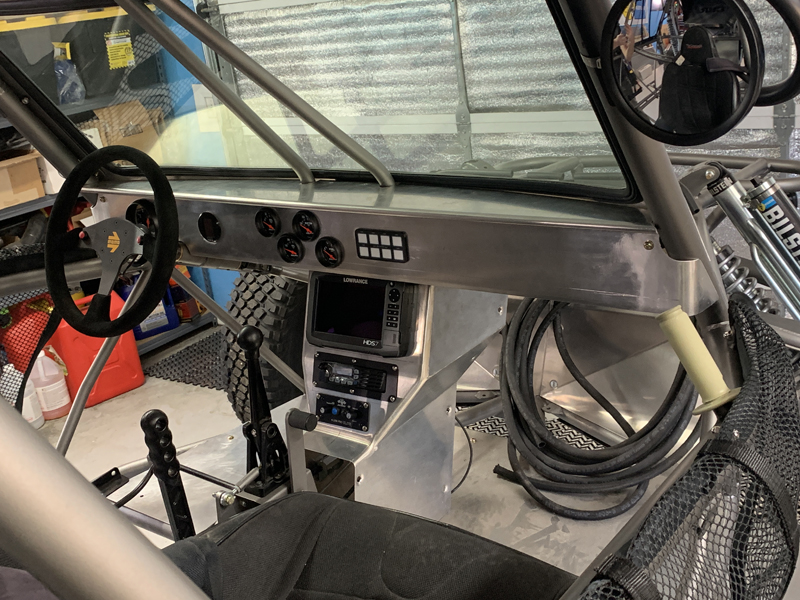
Center Console "fit-check"
We're happy with the fit of the center console and the
view-ability/accessibility of each component. The
"Switch-Pros" switch panel is visible on the dash to the right
of the engine instruments. This unit combines all the
switches and relays into a compact and convenient package that
eliminates the many individual switches and mechanical relays
needed for high power components (lights, fuel pump, radiator
fans, etc.). Each of the eight switches can be programmed
to behave the way we want, are back-lit and will be labeled.
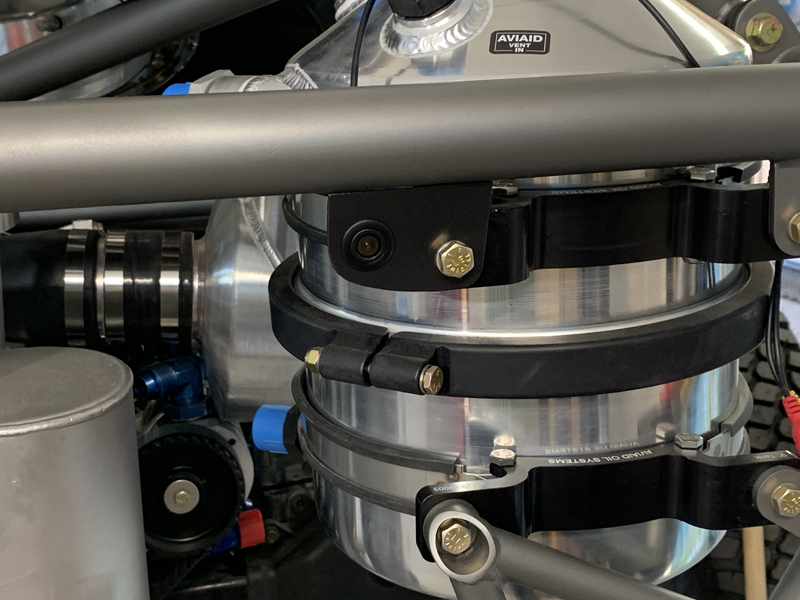
"Back-up" camera mounted
This small camera interfaces with the Lowrance GPS display
unit, allowing us to see what's behind us when backing up or any
other time we feel the need. It's a wide angle camera so
it's not great for long distances but perfect for when we are in
reverse and want to make sure we don't back into anything...
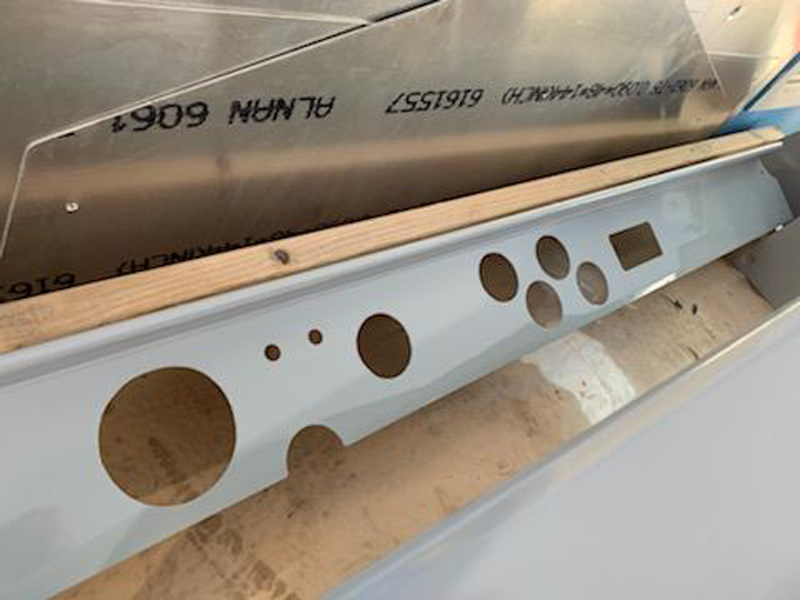
Dash panel painted
We painted the dash panel, center console, and tunnel sheet
metal with a light gray enamel for corrosion protection and a
more "finished" look.
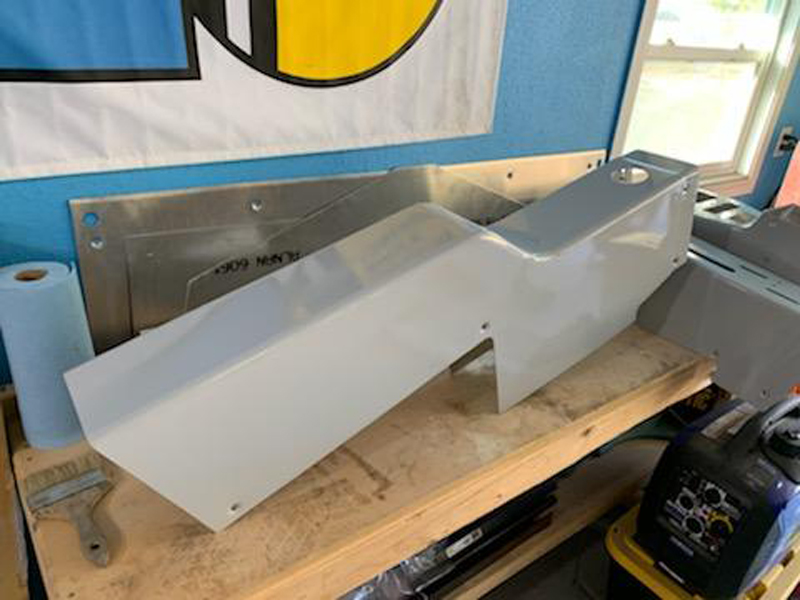
"Tunnel" sheet metal painted
The tunnel covers all the shifter, hydraulic and electrical
hardware that must run from the front to the rear of the car;
it's installed on the centerline of the car, in-between the
driver and co-driver and rear passenger seats.
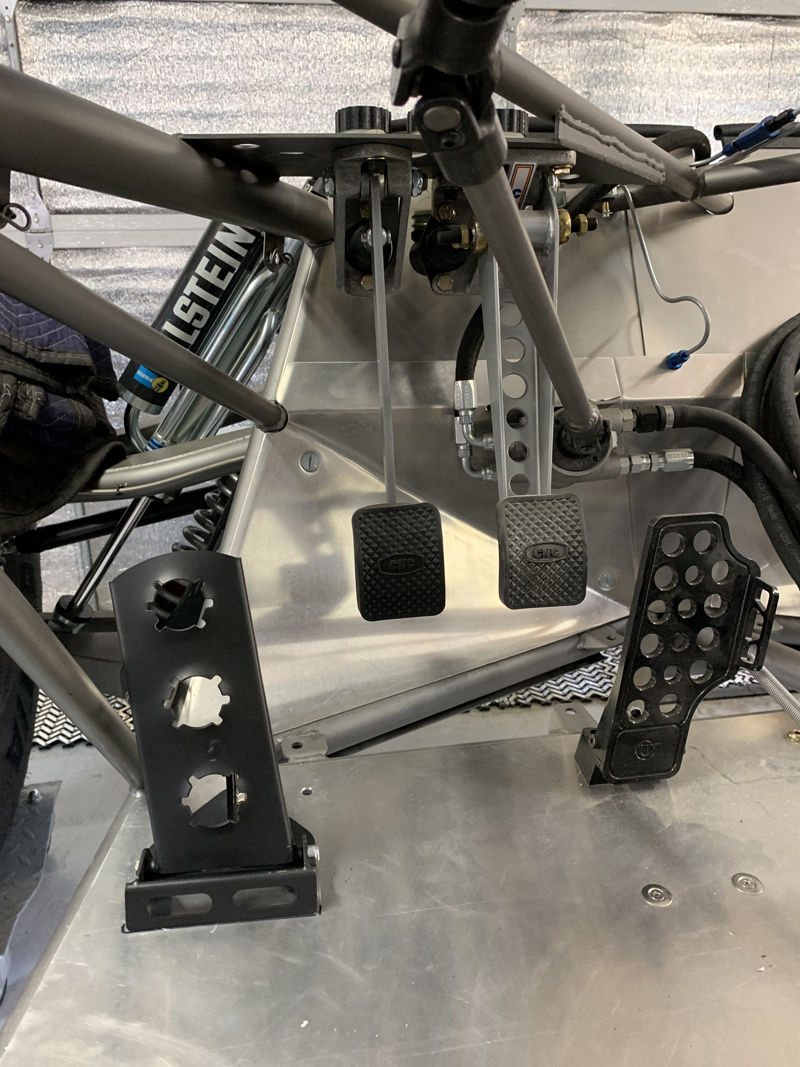
Driver's "Dead Pedal"
This pedal provides something on which to
brace the driver's left foot and leg when driving in rough
terrain.
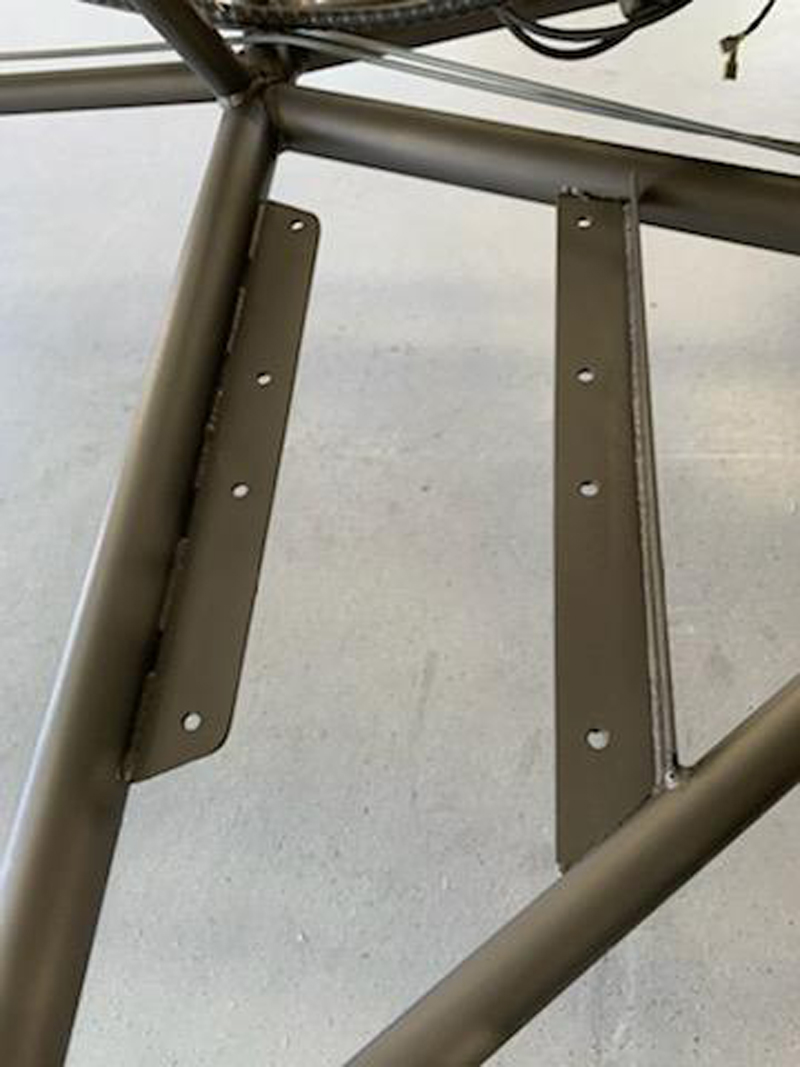
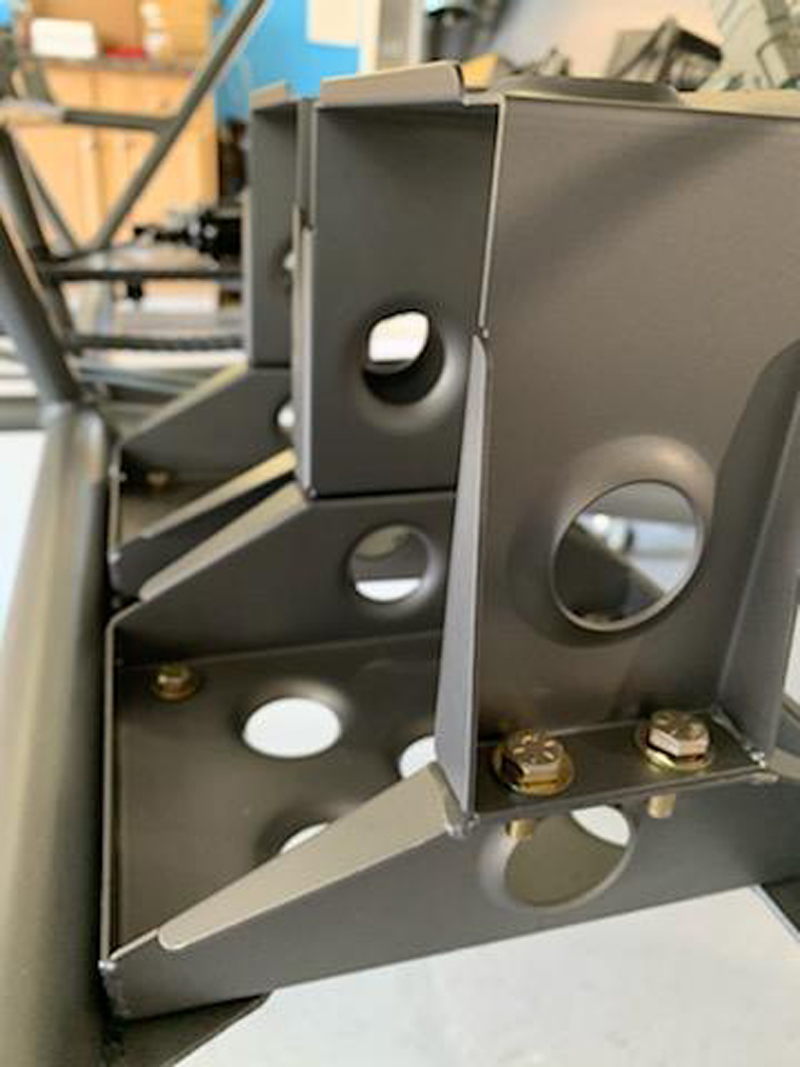
Battery box supports installed
The battery box supports are well anchored to the chassis
and should hold the batteries securely.
Dual battery boxes mounted
We elected to use double batteries and a disconnect switch
that allows us to select either battery individually or both at
the same time for redundancy. They're mounted under the
driver side rear passenger seat with plenty of clearance above -
no chance of coming into contact with any part of the seat.
Even so, we'll install a non-conductive shield over the
terminals. The batteries are suspended above the chassis
bottom/skid plate for impact protection from below...
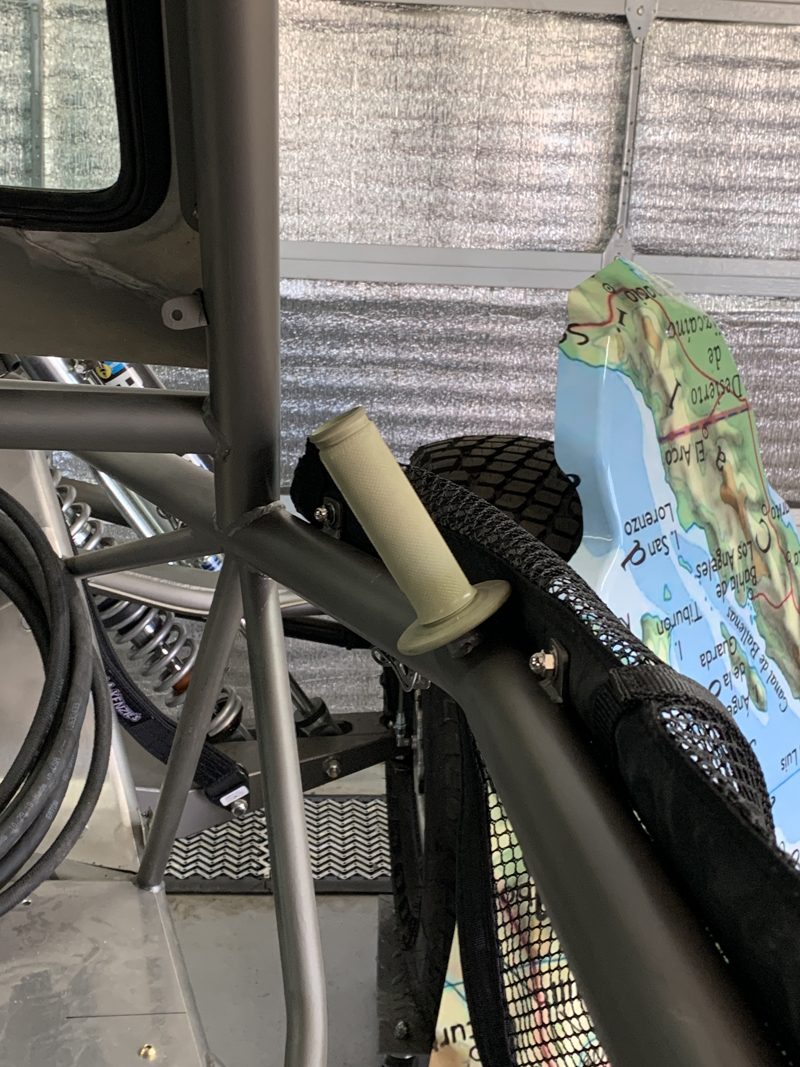
Co-driver "Grab Handle"
We've found that having something to hold on to when driving
hard in the desert is important for passenger comfort.
This motorcycle style grip should provide a welcome point of
support for the passenger's upper body.
Front Passenger Footrest/Storage
This is a commercially available assembly that serves two
purposes: it's a foot rest but it also functions as a storage
area for oil or power steering fluid. Additionally, it has
some room for small spare parts and repair supplies.
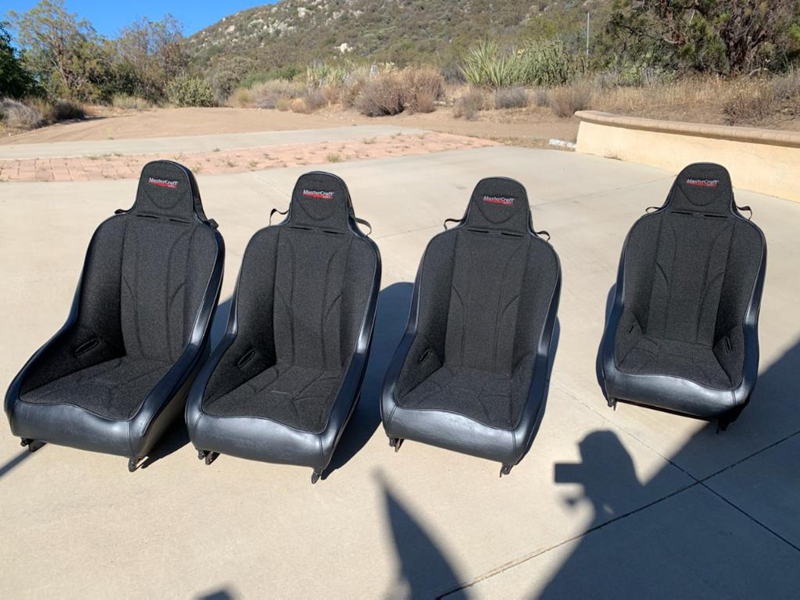
Mastercraft Pro 4 seats ready to install
We've been keeping these in the shipping boxes since
receiving them late last year to keep them pristine. Once
we have the electrical system installed and tested, we can
install the "tunnel" pieces then bolt these in! We also
have new "5-point" harnesses to go with them.

Center tunnel "final" installed
Once the wiring was complete, we installed the center tunnel
sections - all the wiring, plumbing and shifter controls are contained/protected inside the tunnel.
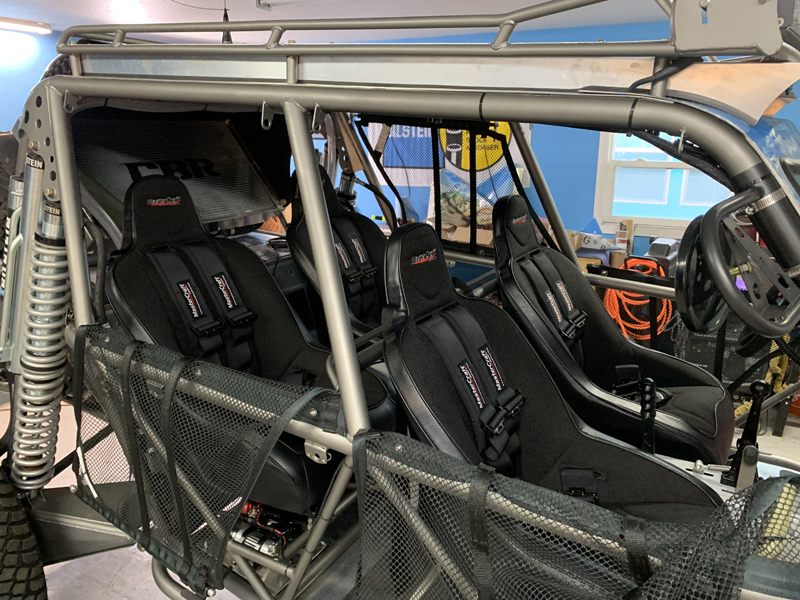
Seats and harnesses "final" installed
The interior of the car is now complete!
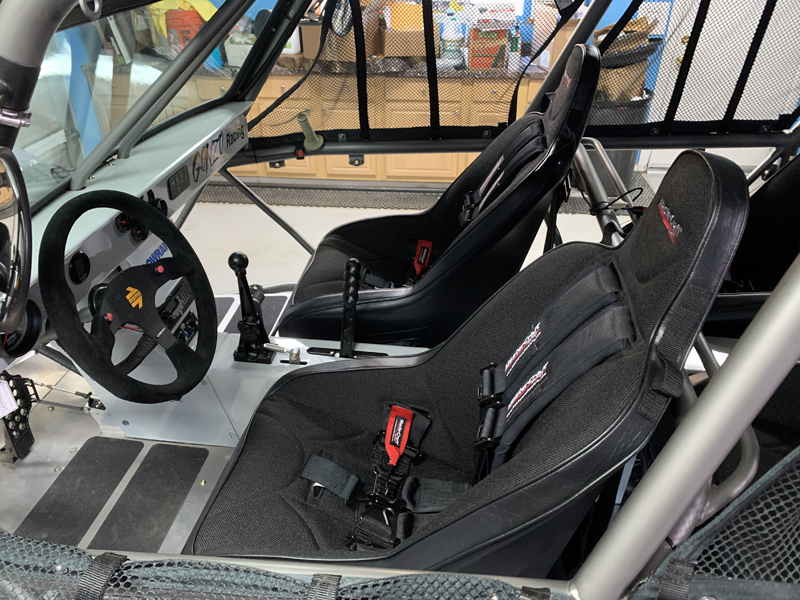
Driver and Co-Driver positions
We're happy with how "un-cluttered" the seating, dash and
controls worked out - it's very comfortable and all the controls
are easily reached and manipulated. Aside from the "corner
bags" we plan to install for each seating position and a
tool/spares bag, the interior is complete.
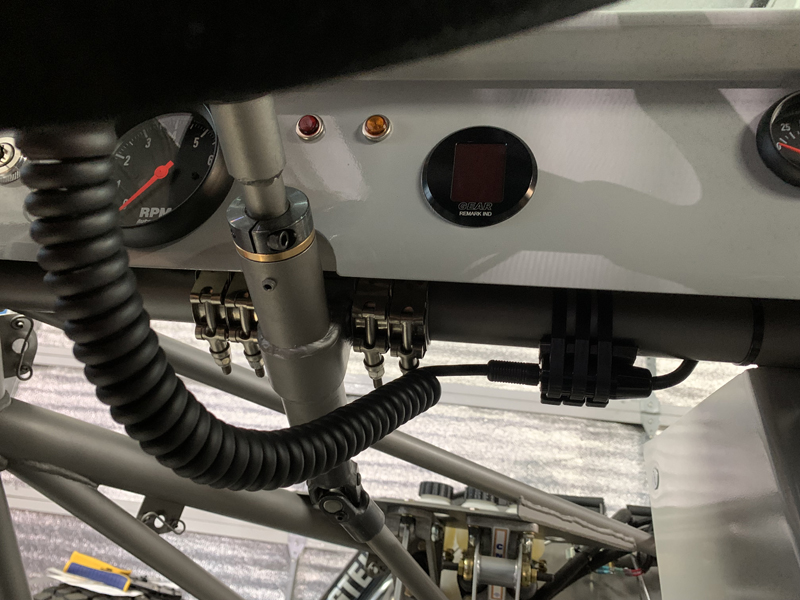
Steering wheel coiled cable
The horn buttons on the steering wheel are connected to the
horn relay through this coiled cable. It allows for free
rotation of the steering wheel without putting a strain on the
wires. The helicopter headset plug and receptacle let us
"un-plug" the cable for removal of the steering wheel when
necessary. The photo is a bit misleading - the cable stays
well clear of the driver's legs...
|